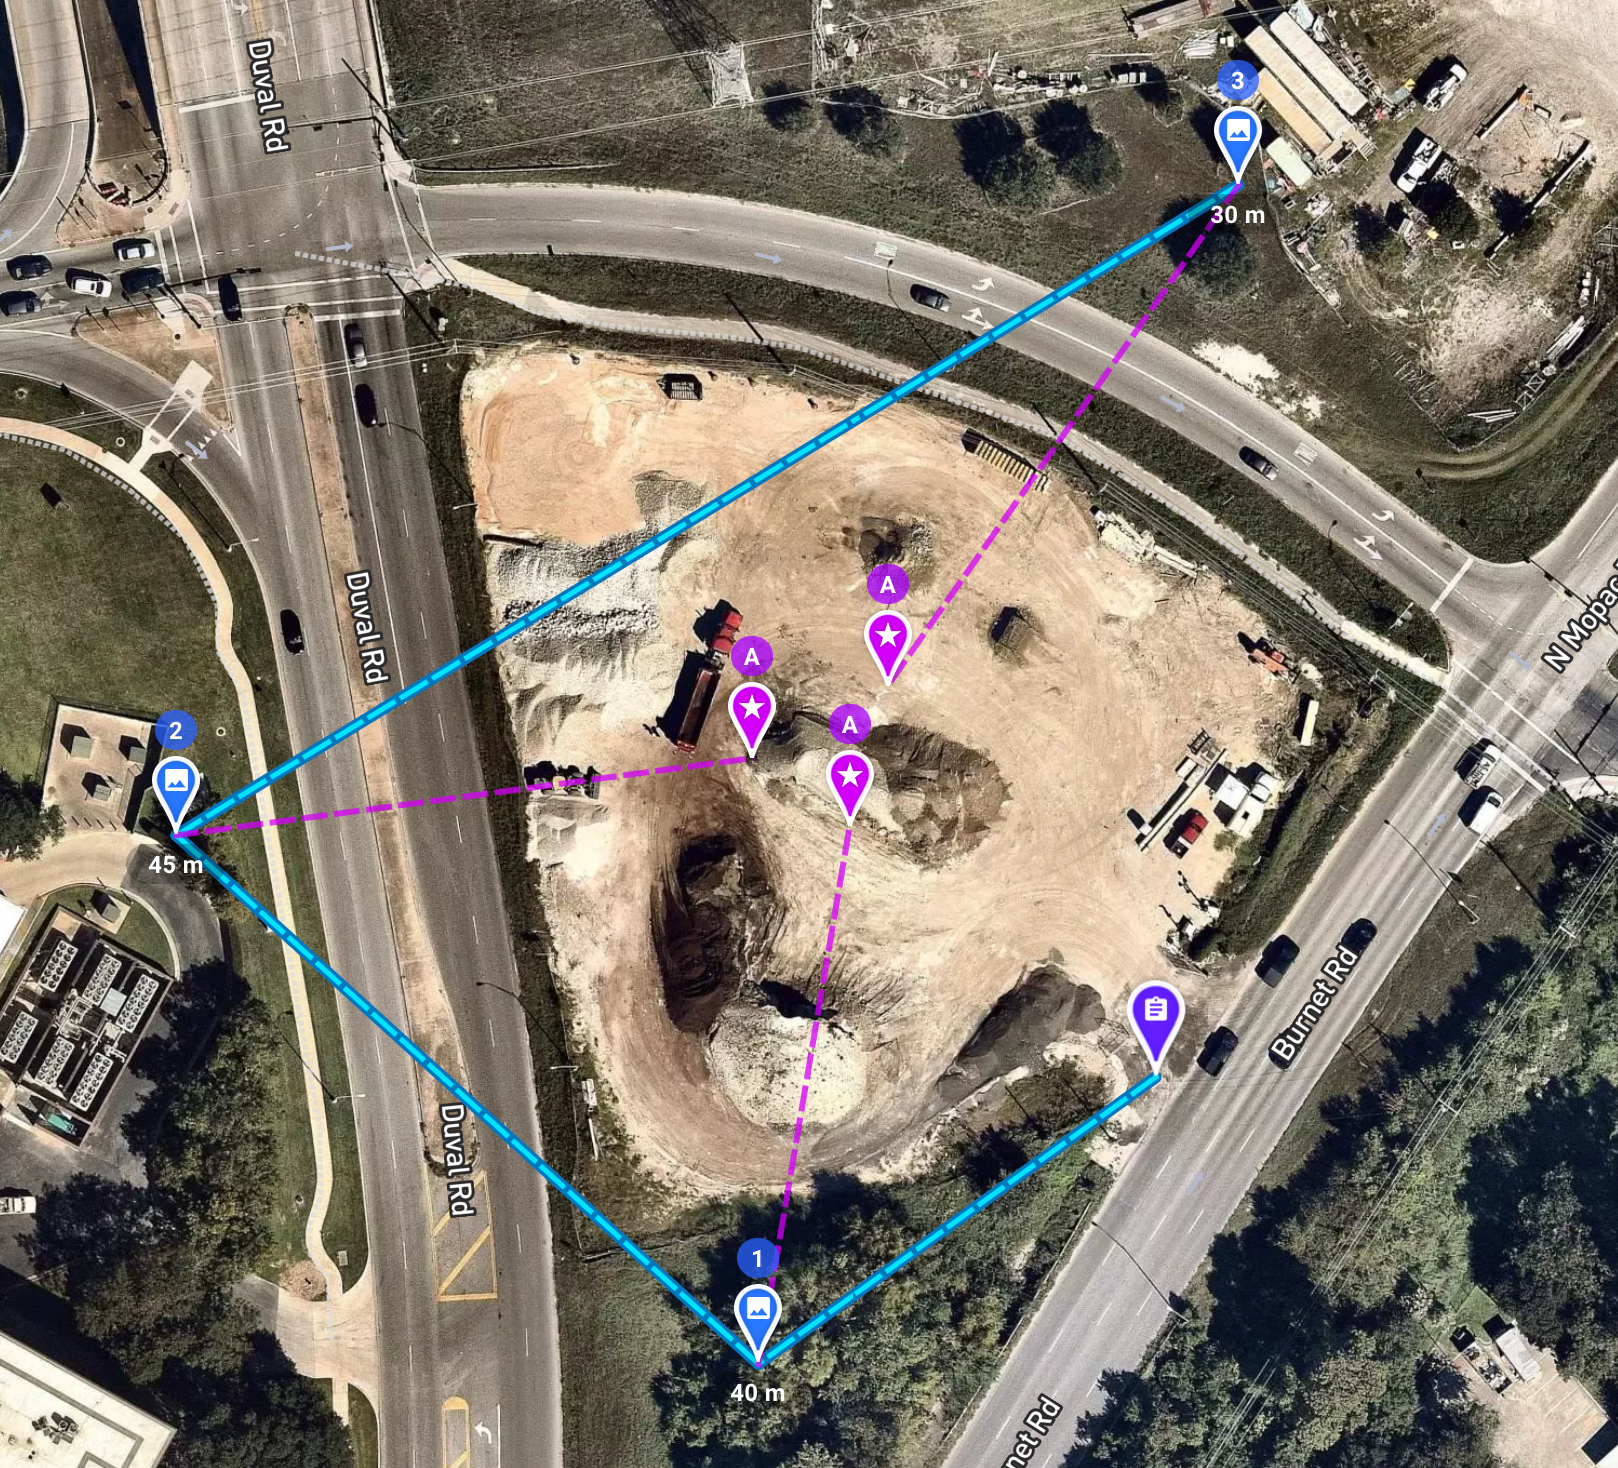
The Photo mission component takes a single photo at a specified altitude and heading with the drone completely stopped.
For a series of photos while the drone is moving, use the Waypoints Mission Component.
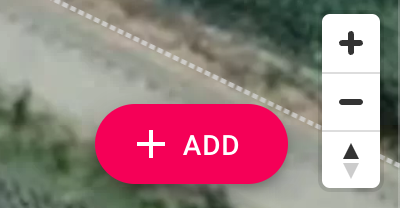
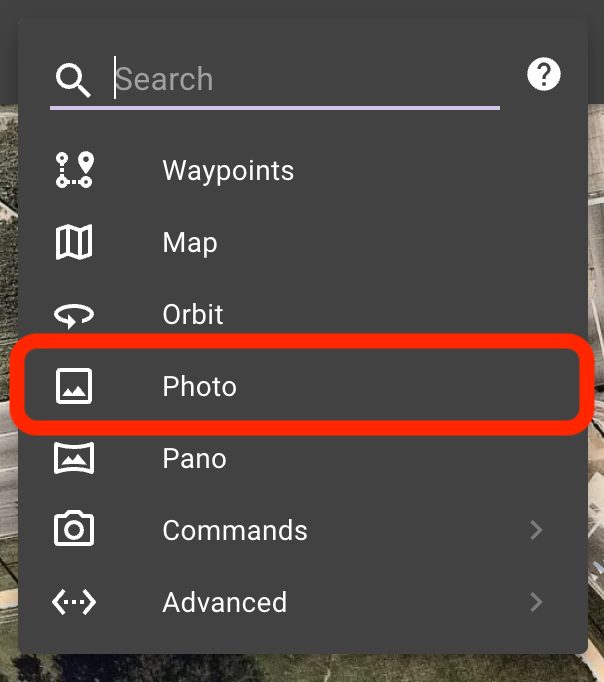
Step 1 - Add Photo from 'Add Menu'
In an existing plan, add a Photo from the 'Add Menu'. Right click / long press on the map, or Select Add and pick a location on the map.
Default settings are a photo taken at 30m (100ft) with a 0 degree heading relative to North.

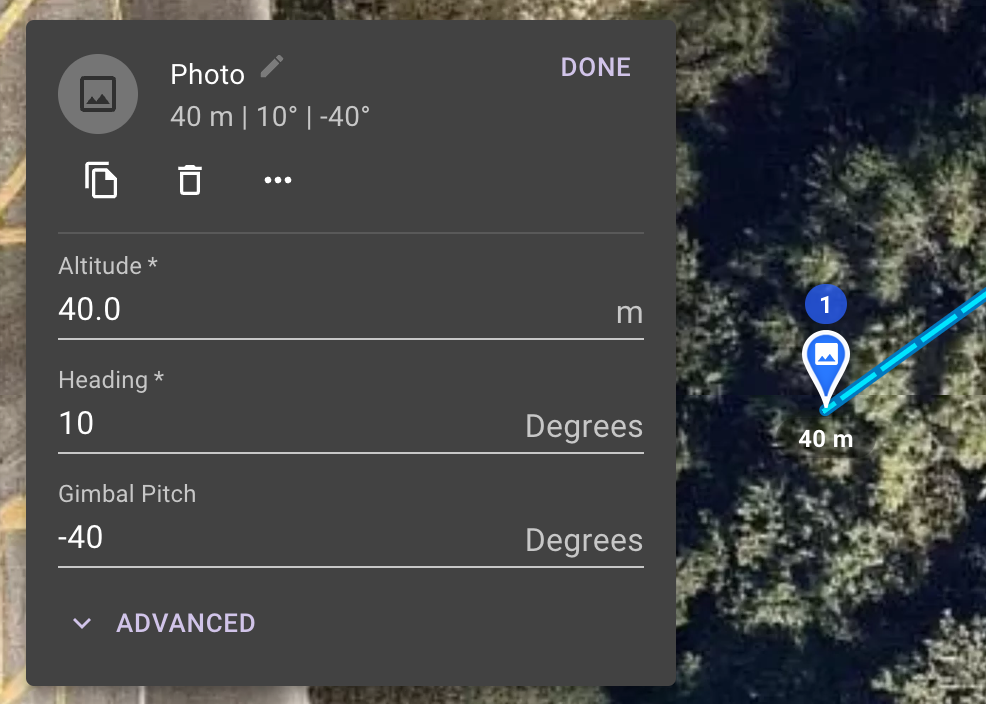
Step 2 - Change Basic Settings (Altitude, Heading, Pitch)
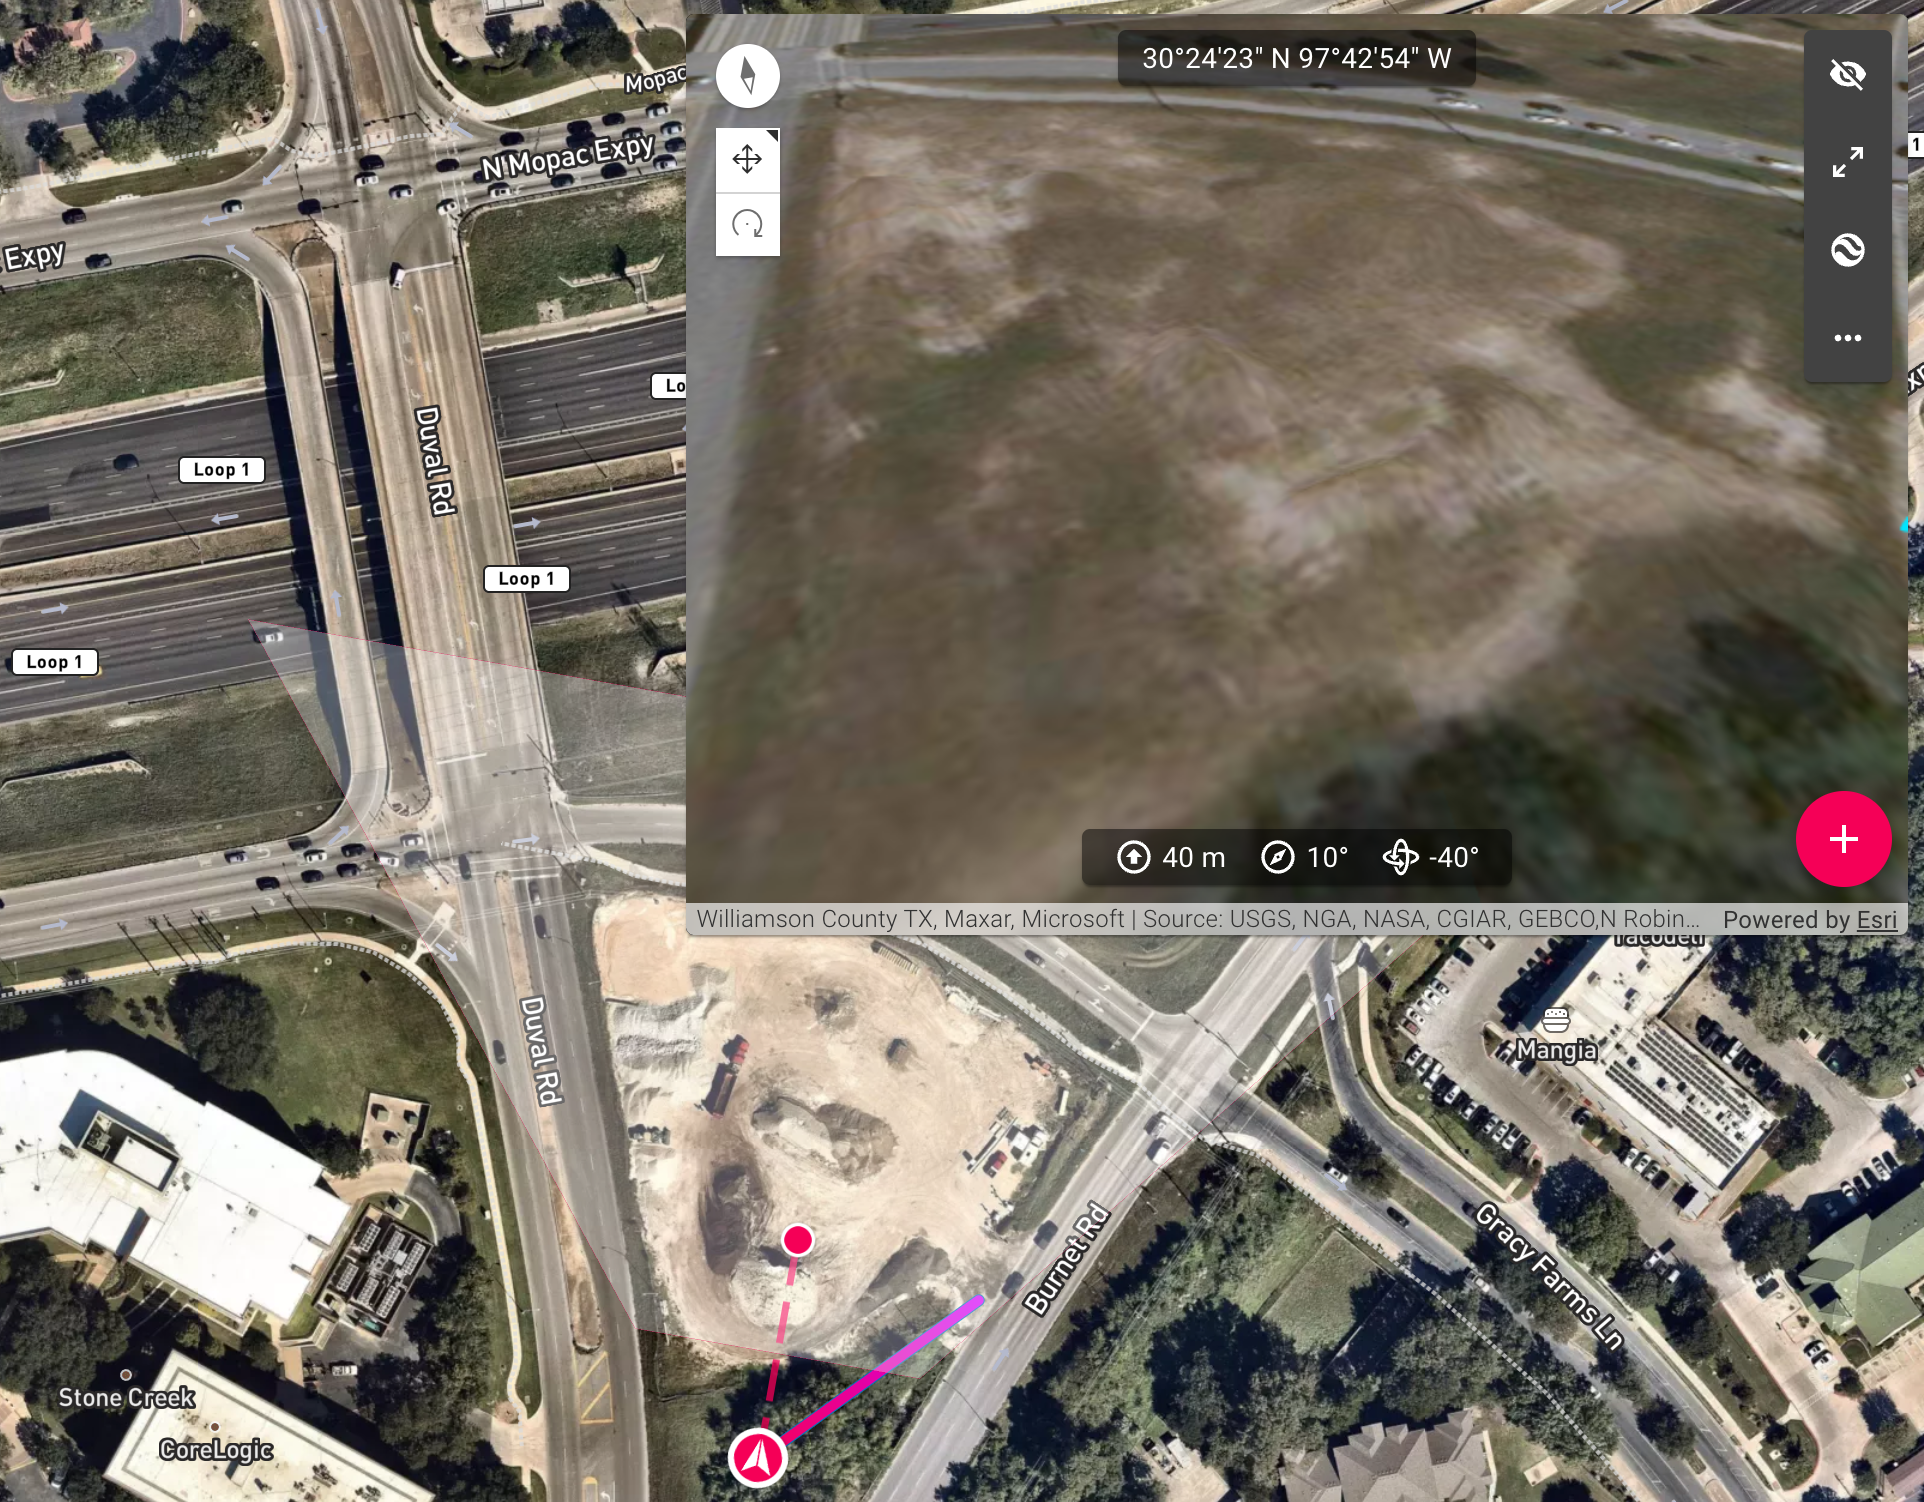
Specify a desired altitude, heading and pitch. Make sure to preview the mission to check if the framing is correct for your drone.
Open mission preview and scroll to the photo to see framing. Make sure to set the drone type in the preview window for using the correct field of view.
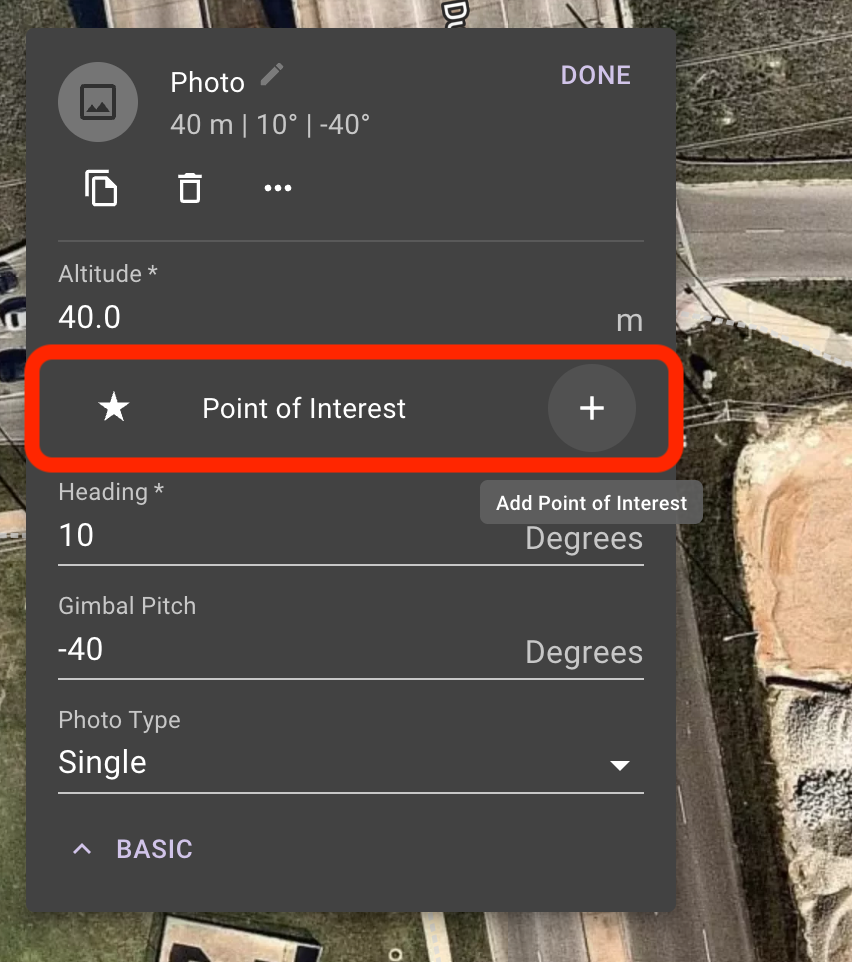
Step 3 - Set POI (Advanced Settings)
Expand Advanced settings to set a Point of Interest (POI).
Instead of using a gimbal pitch and heading to point the camera, add a POI and place it on the map. This will override the gimbal pitch and heading if set.
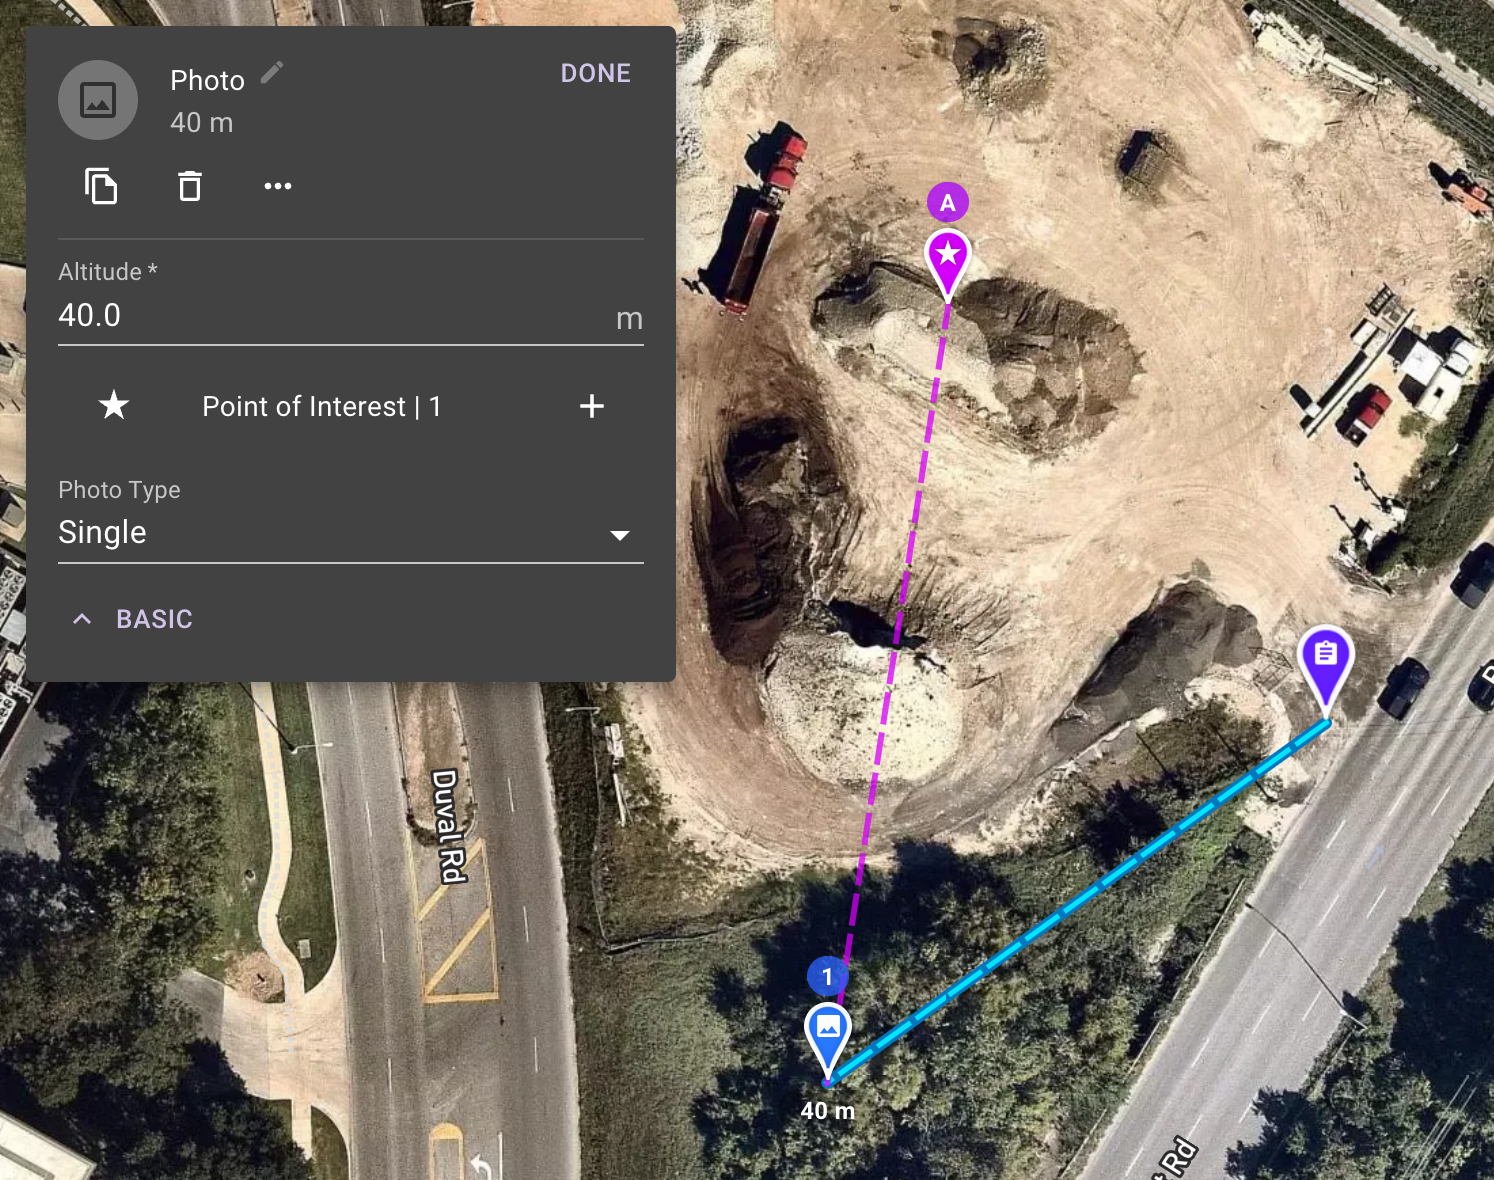
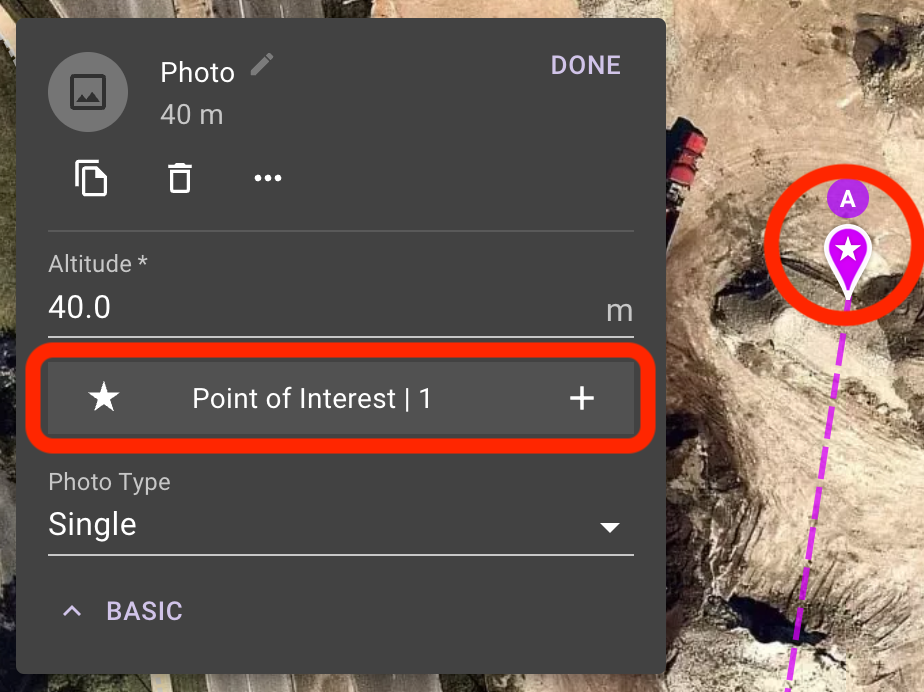
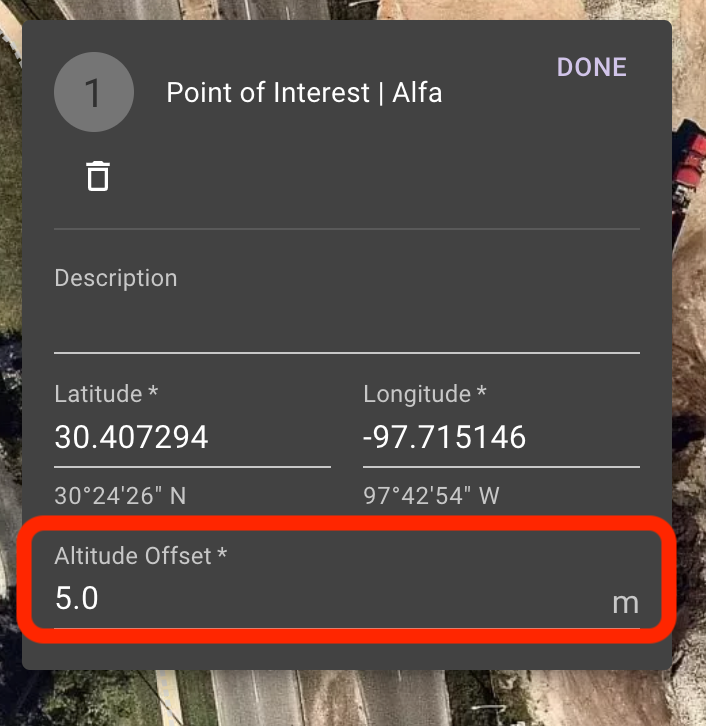
Select the POI to edit the Altitude Offset, which will adjust the gimbal pitch to focus on a height above or below the POI location.
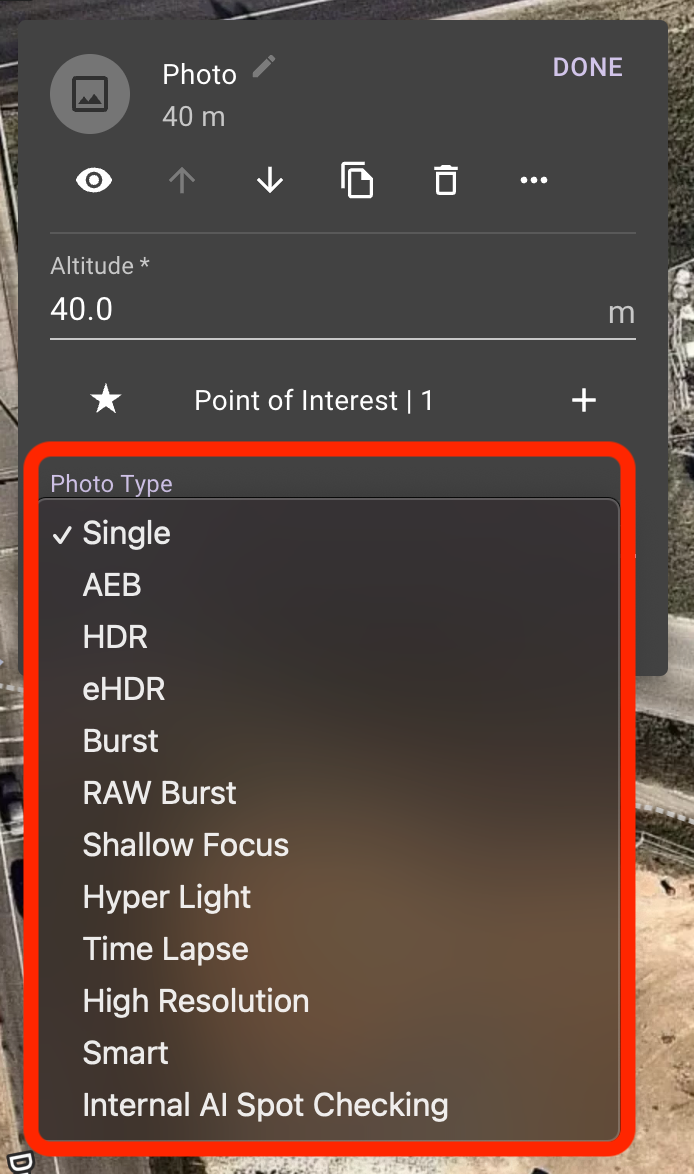
Step 4 - Set Photo Type (Advanced Settings)
Expand Advanced settings to set the Photo Type.
Note, not all options are supported by all drones, check your drone manual or manufacturer drone app for what photo types are supported.
Multiple Photo Missions
Right click on the map, or use the Add Menu to add additional Photo Mission Components to your mission. If you want to take continuous interval photos, use the Waypoints Mission Component.
Note that each photo uses its own POI, POI's cannot be shared between Photo mission components at this time.