In this section we will cover a few basic editing techniques to your flight plan.
We'll make adjustments in order starting with the trucking shot.
If you want to simplify the mission greatly, skip down to Deleting a component and delete the Flyby and Away component.
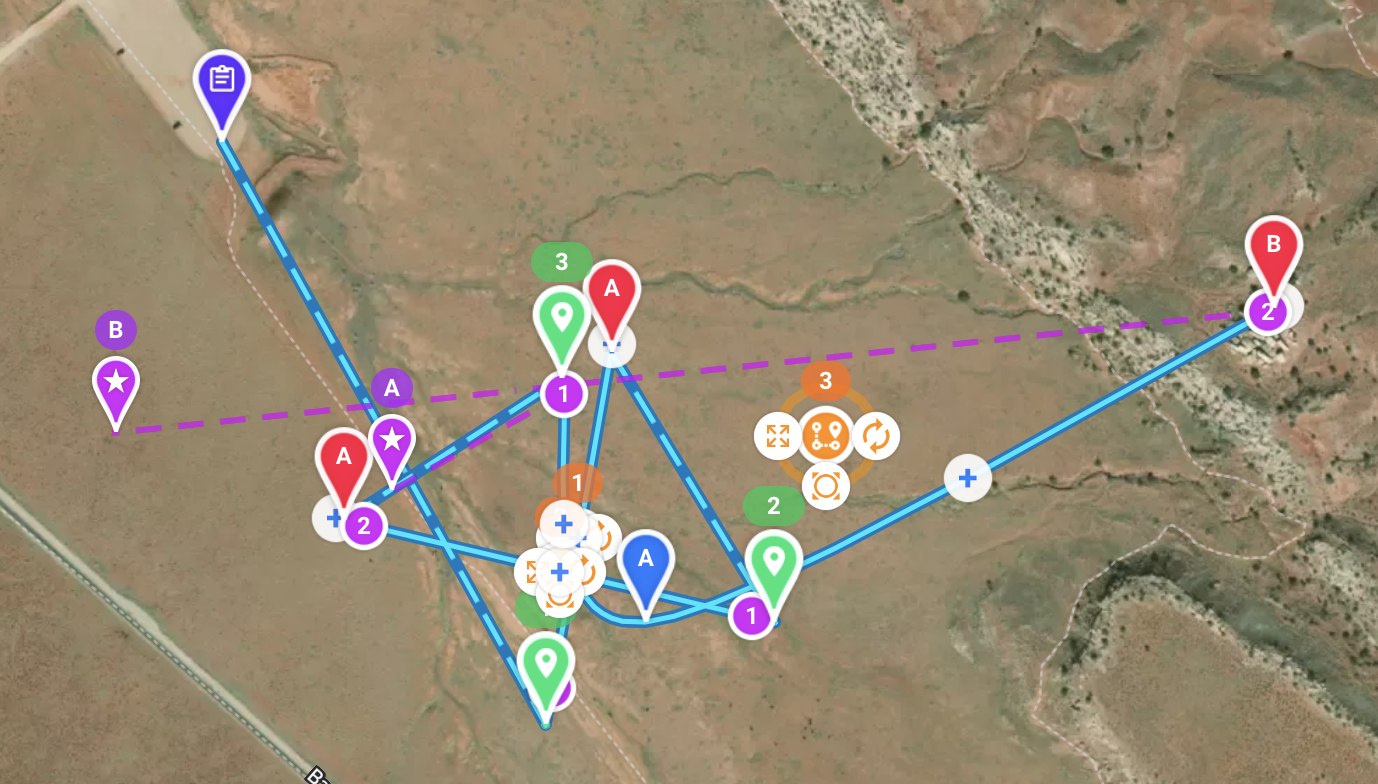
1 - Moving the Reference
Move the reference to your intended take-off location by selecting it and dragging it over.
In this case the parking lot.
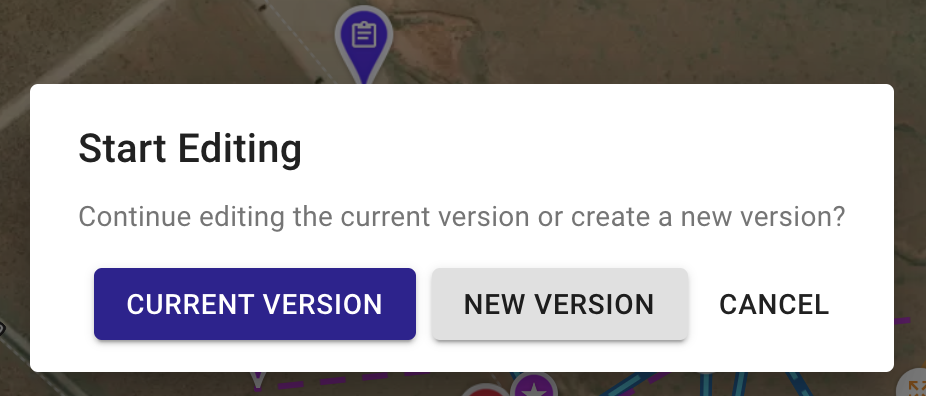
You will get prompted if you want to edit the current version, or create a new version. If you want to take advantage of versioning, select New Version.
2 - Moving, Rotating and Scaling Components
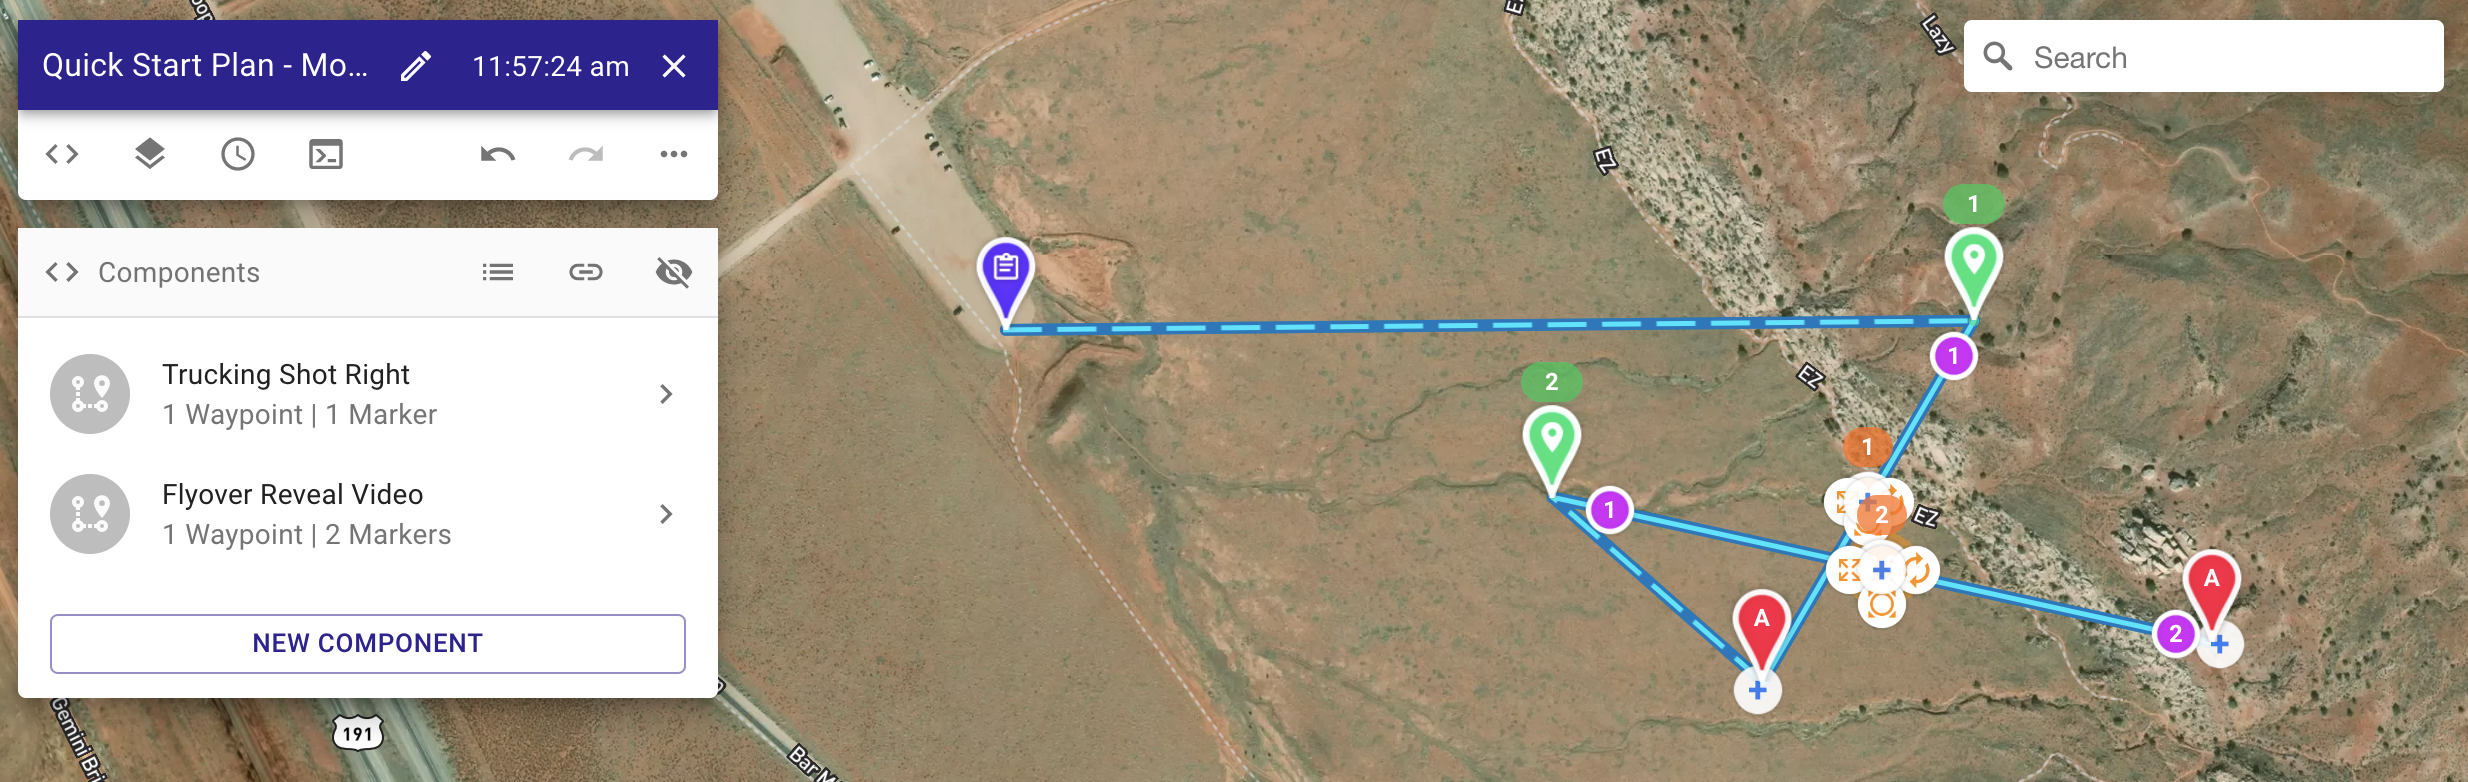
2.1 - Moving a Component (Trucking Shot)
To move any component, select the numbered center pin of the component and drag it to a new location.
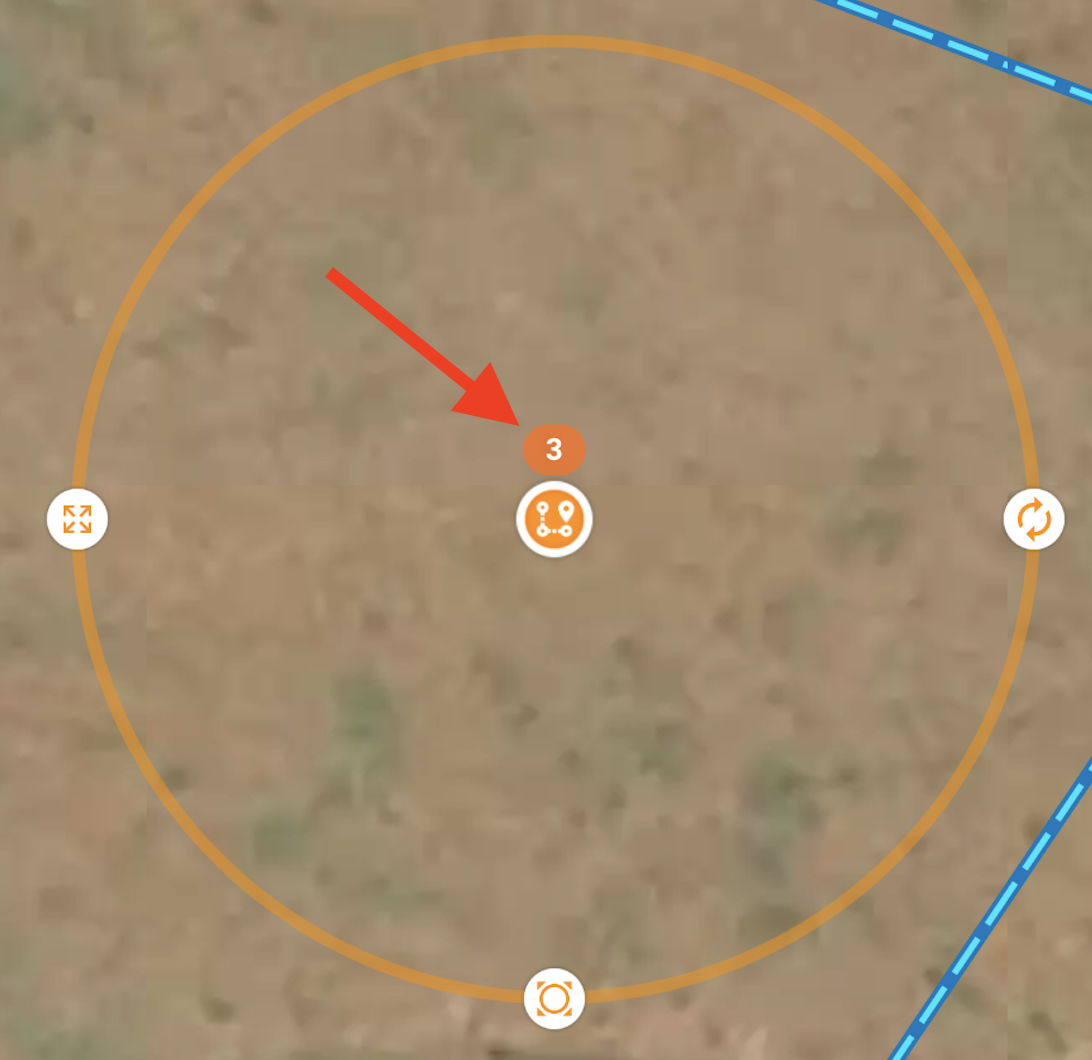
2.2 Rotating a Component (Trucking Shot)
To rotate, select the rotate icon on the component center pin and adjust.
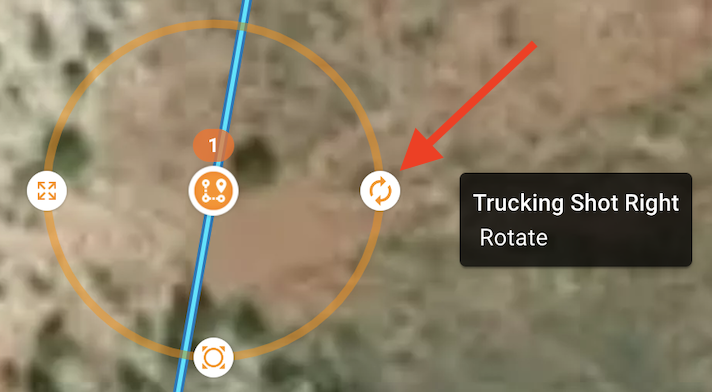
In this case, we want camera to point towards the south east, so we will rotate the mission approximately 180 degrees. There is a mountain range to the SE of this location that we want to capture.
2.3 - Move and Rotate (FlyOver Reveal)
We'll perform the same 2 changes to the Flyover Reveal component, making sure the drone reveals the mountain range discussed.
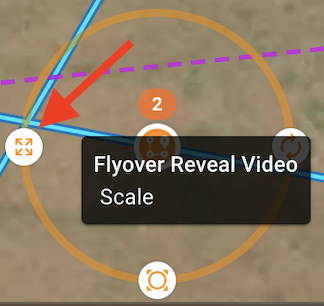
2.4 - Scaling a Component (Flyover Reveal)
To decrease or increase the size of a component, select the scale button. This modification will increase or decrease the mission length.
2.5 - Moving a Waypoint and Marker
It is also possible to achieve similar changes to those described above by moving a waypoint. In this case you may also need to adjust the marker location along the path.
Simply select the waypoint and drag it to a new location, and drag the marker to the new desired location on the path.

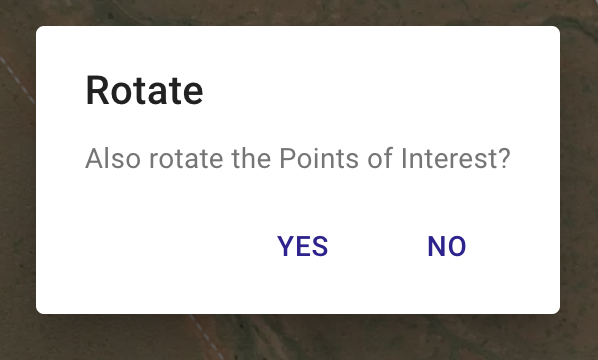
2.6 - Moving and Rotating a Component with POIs (Flyby and Away)
When scaling or rotating a component with POIs (point of interest), you will be prompted if you want to also adjust the POIs.
3 - Adjusting the POIs (Flyby and Away)
Adjusting the POIs will dramatically alter a shot. In this location, we want to start looking more south and end looking more east. Simply drag the POIs to new locations.
When you click on a POI, you can also edit the altitude offset. Increase this number to tilt the camera more up, decrease the number to tilt the camera more down.

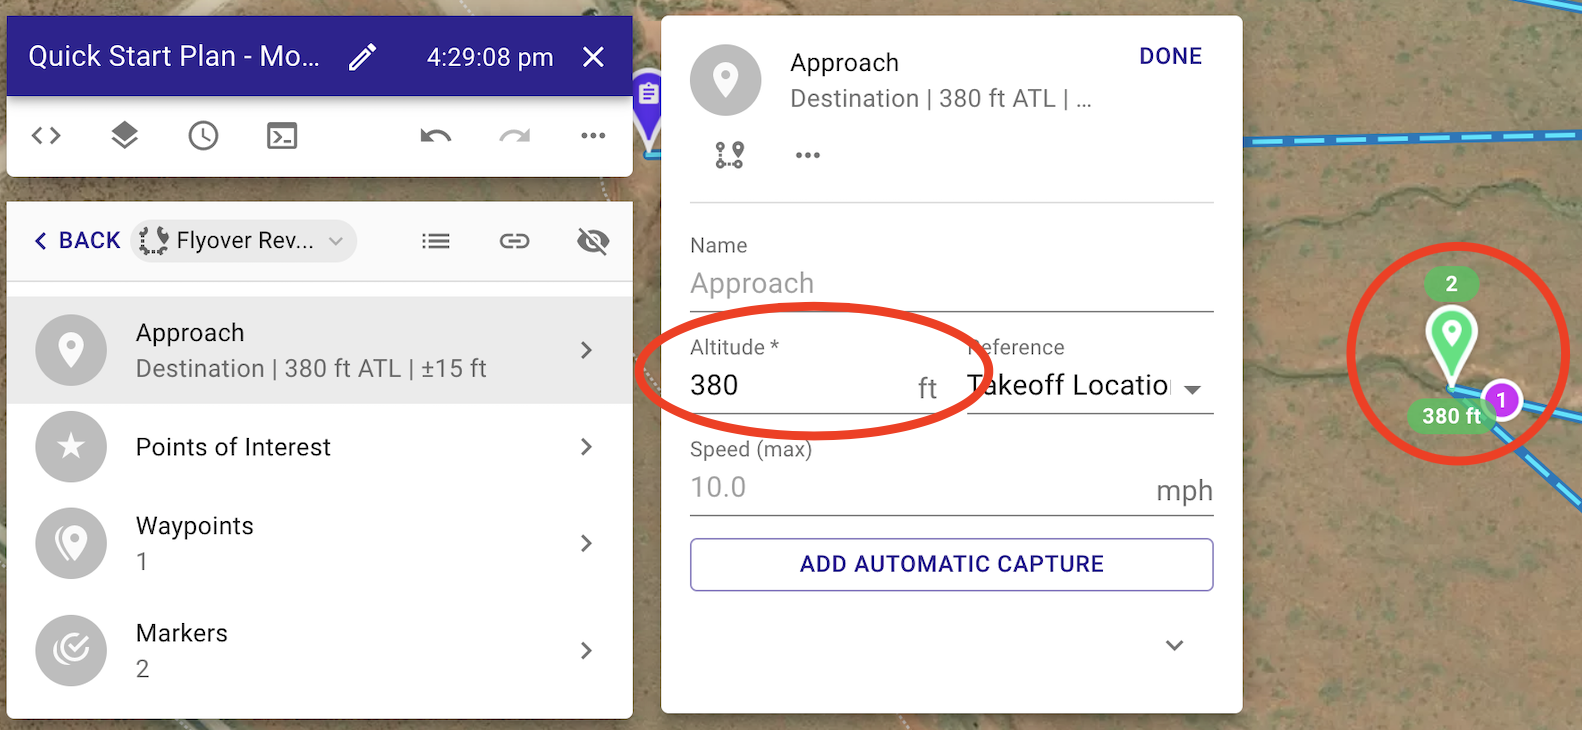
4 - Editing Altitude (Flyover reveal)
The altitude can be edited in various locations, either on the destination pin (green pin), on a waypoint, or on a marker.
Locations where the altitude changes are shown below the map pin icon.

Note: For your first missions, stay at higher safe altitudes.
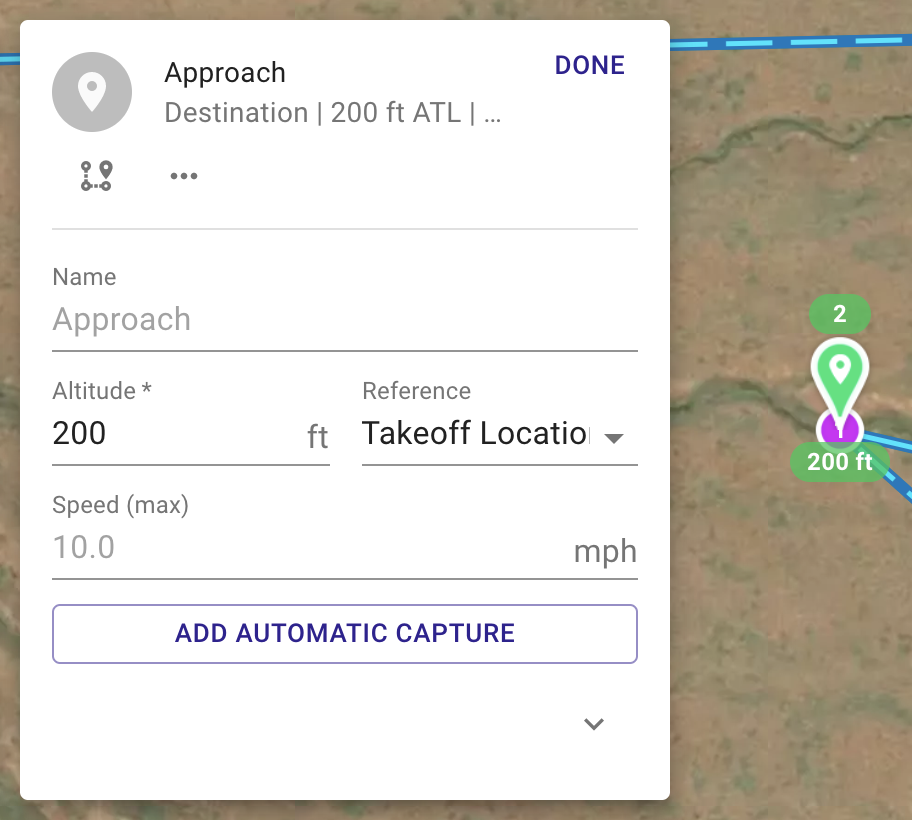
Below we show how to edit the altitude of the Flyover Reveal to climb from 200ft to 380ft.
Select the green destination pin for the Flyover Reveal approach and change the altitude to 200ft.
Next we'll add an altitude to Marker 2.
Select Marker 2 from the map and then Select Add Another Parameter:
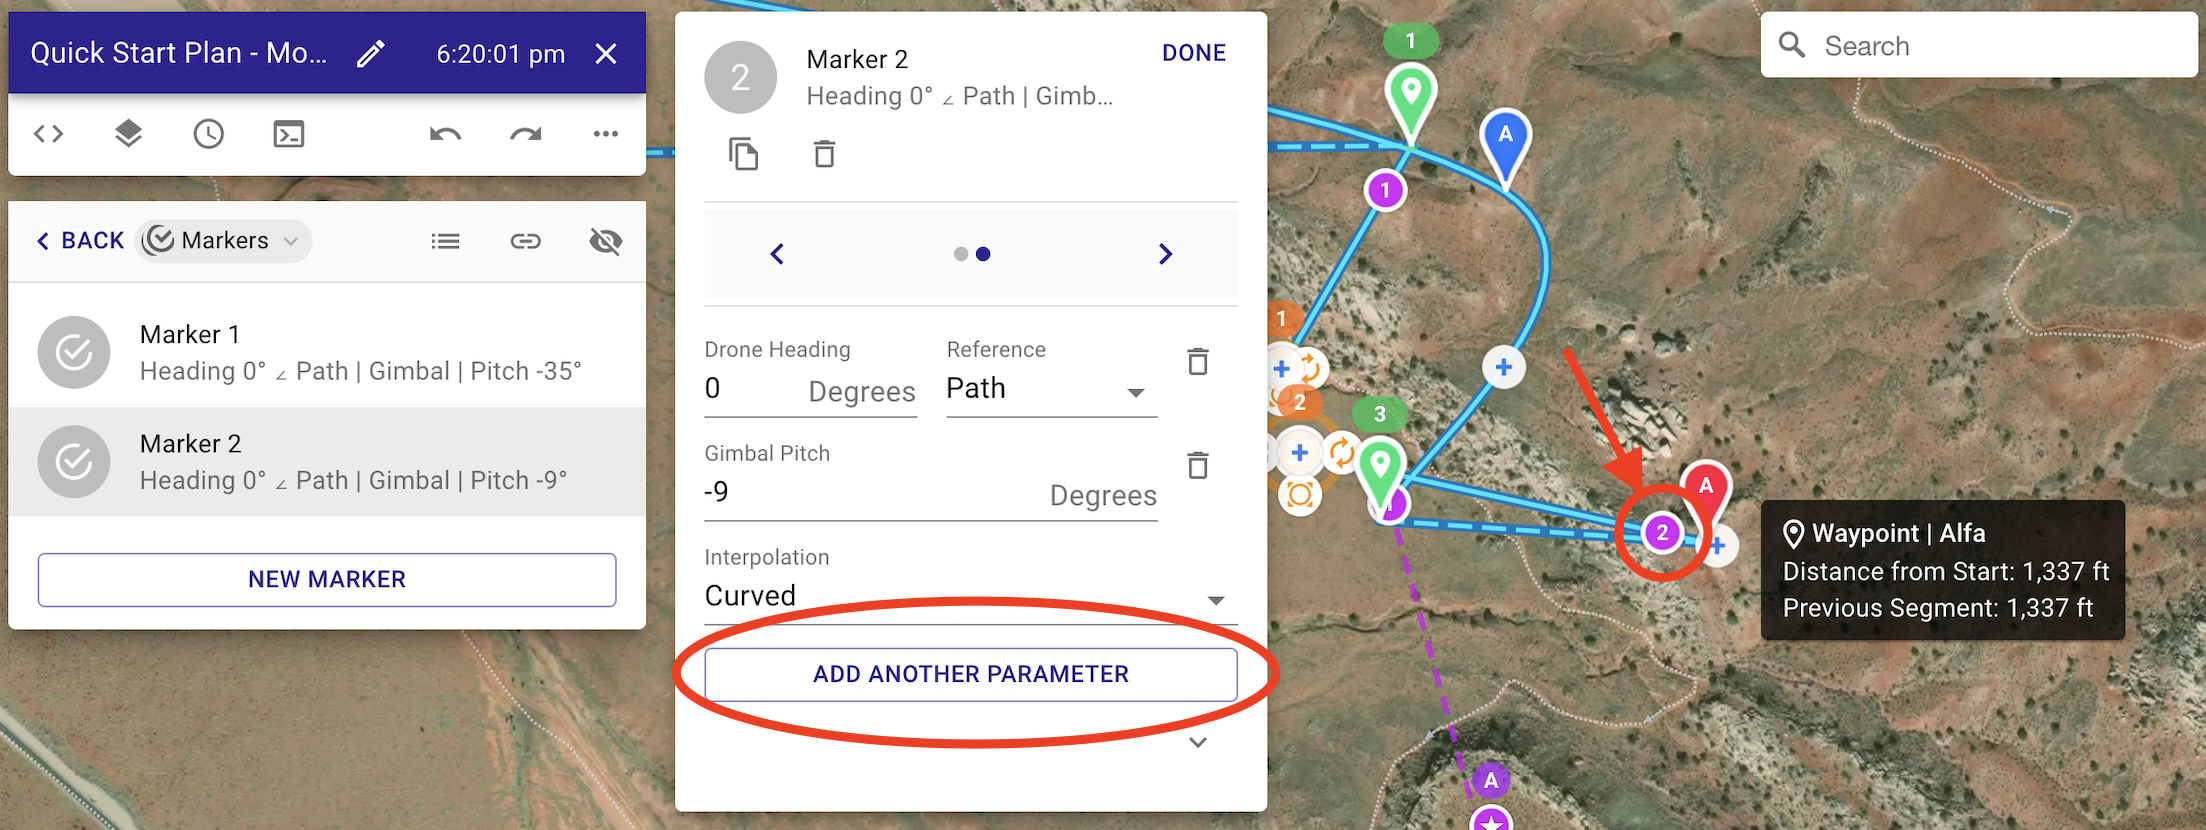
Select Altitude from the List

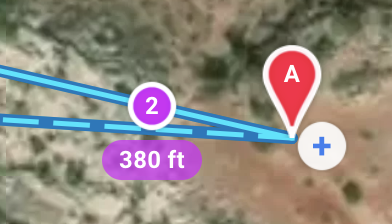
Type in the desired altitude.
The drone will now climb from 200ft to 380ft along the Flyover Reveal Path.

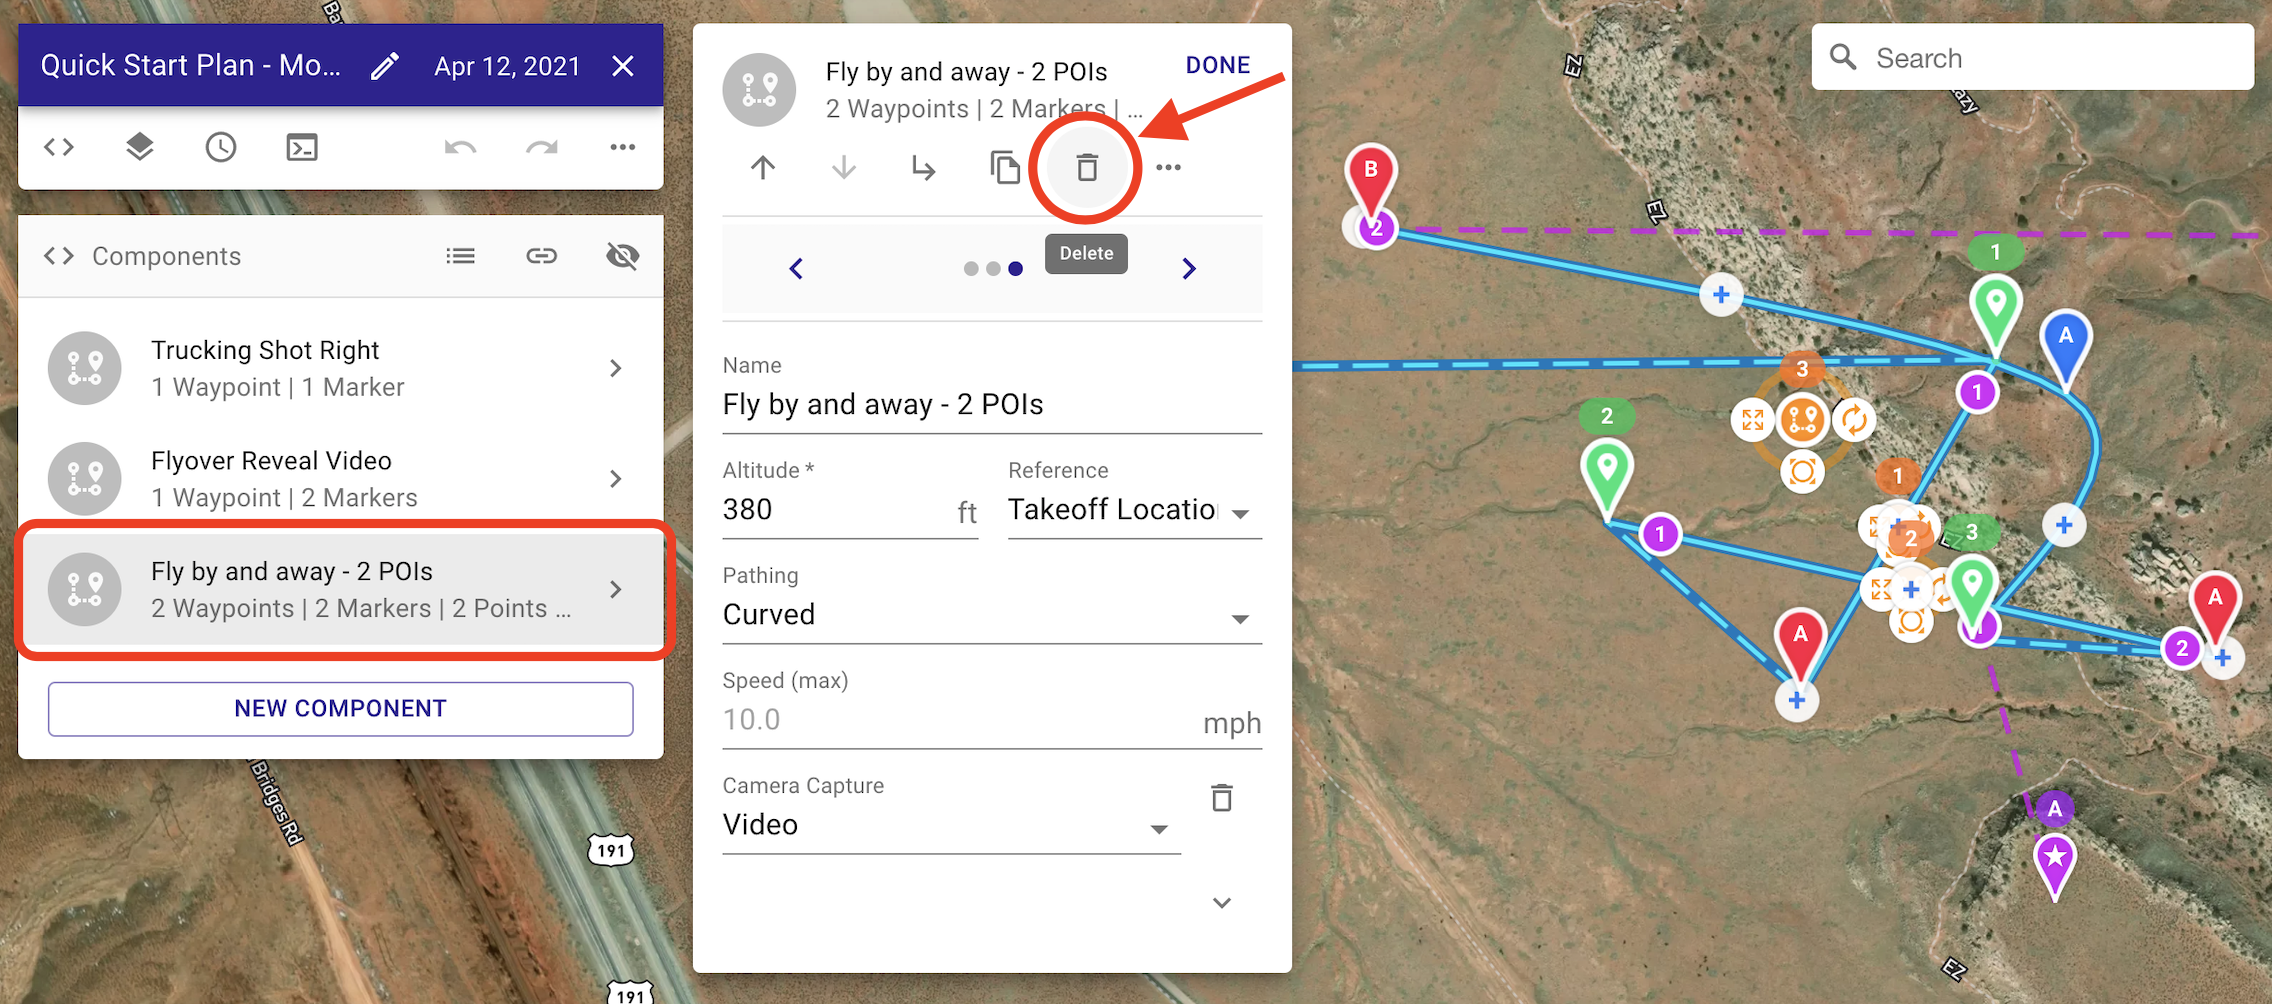
5 - Deleting a Component
To delete one of the mission components, simply select the component, and select delete
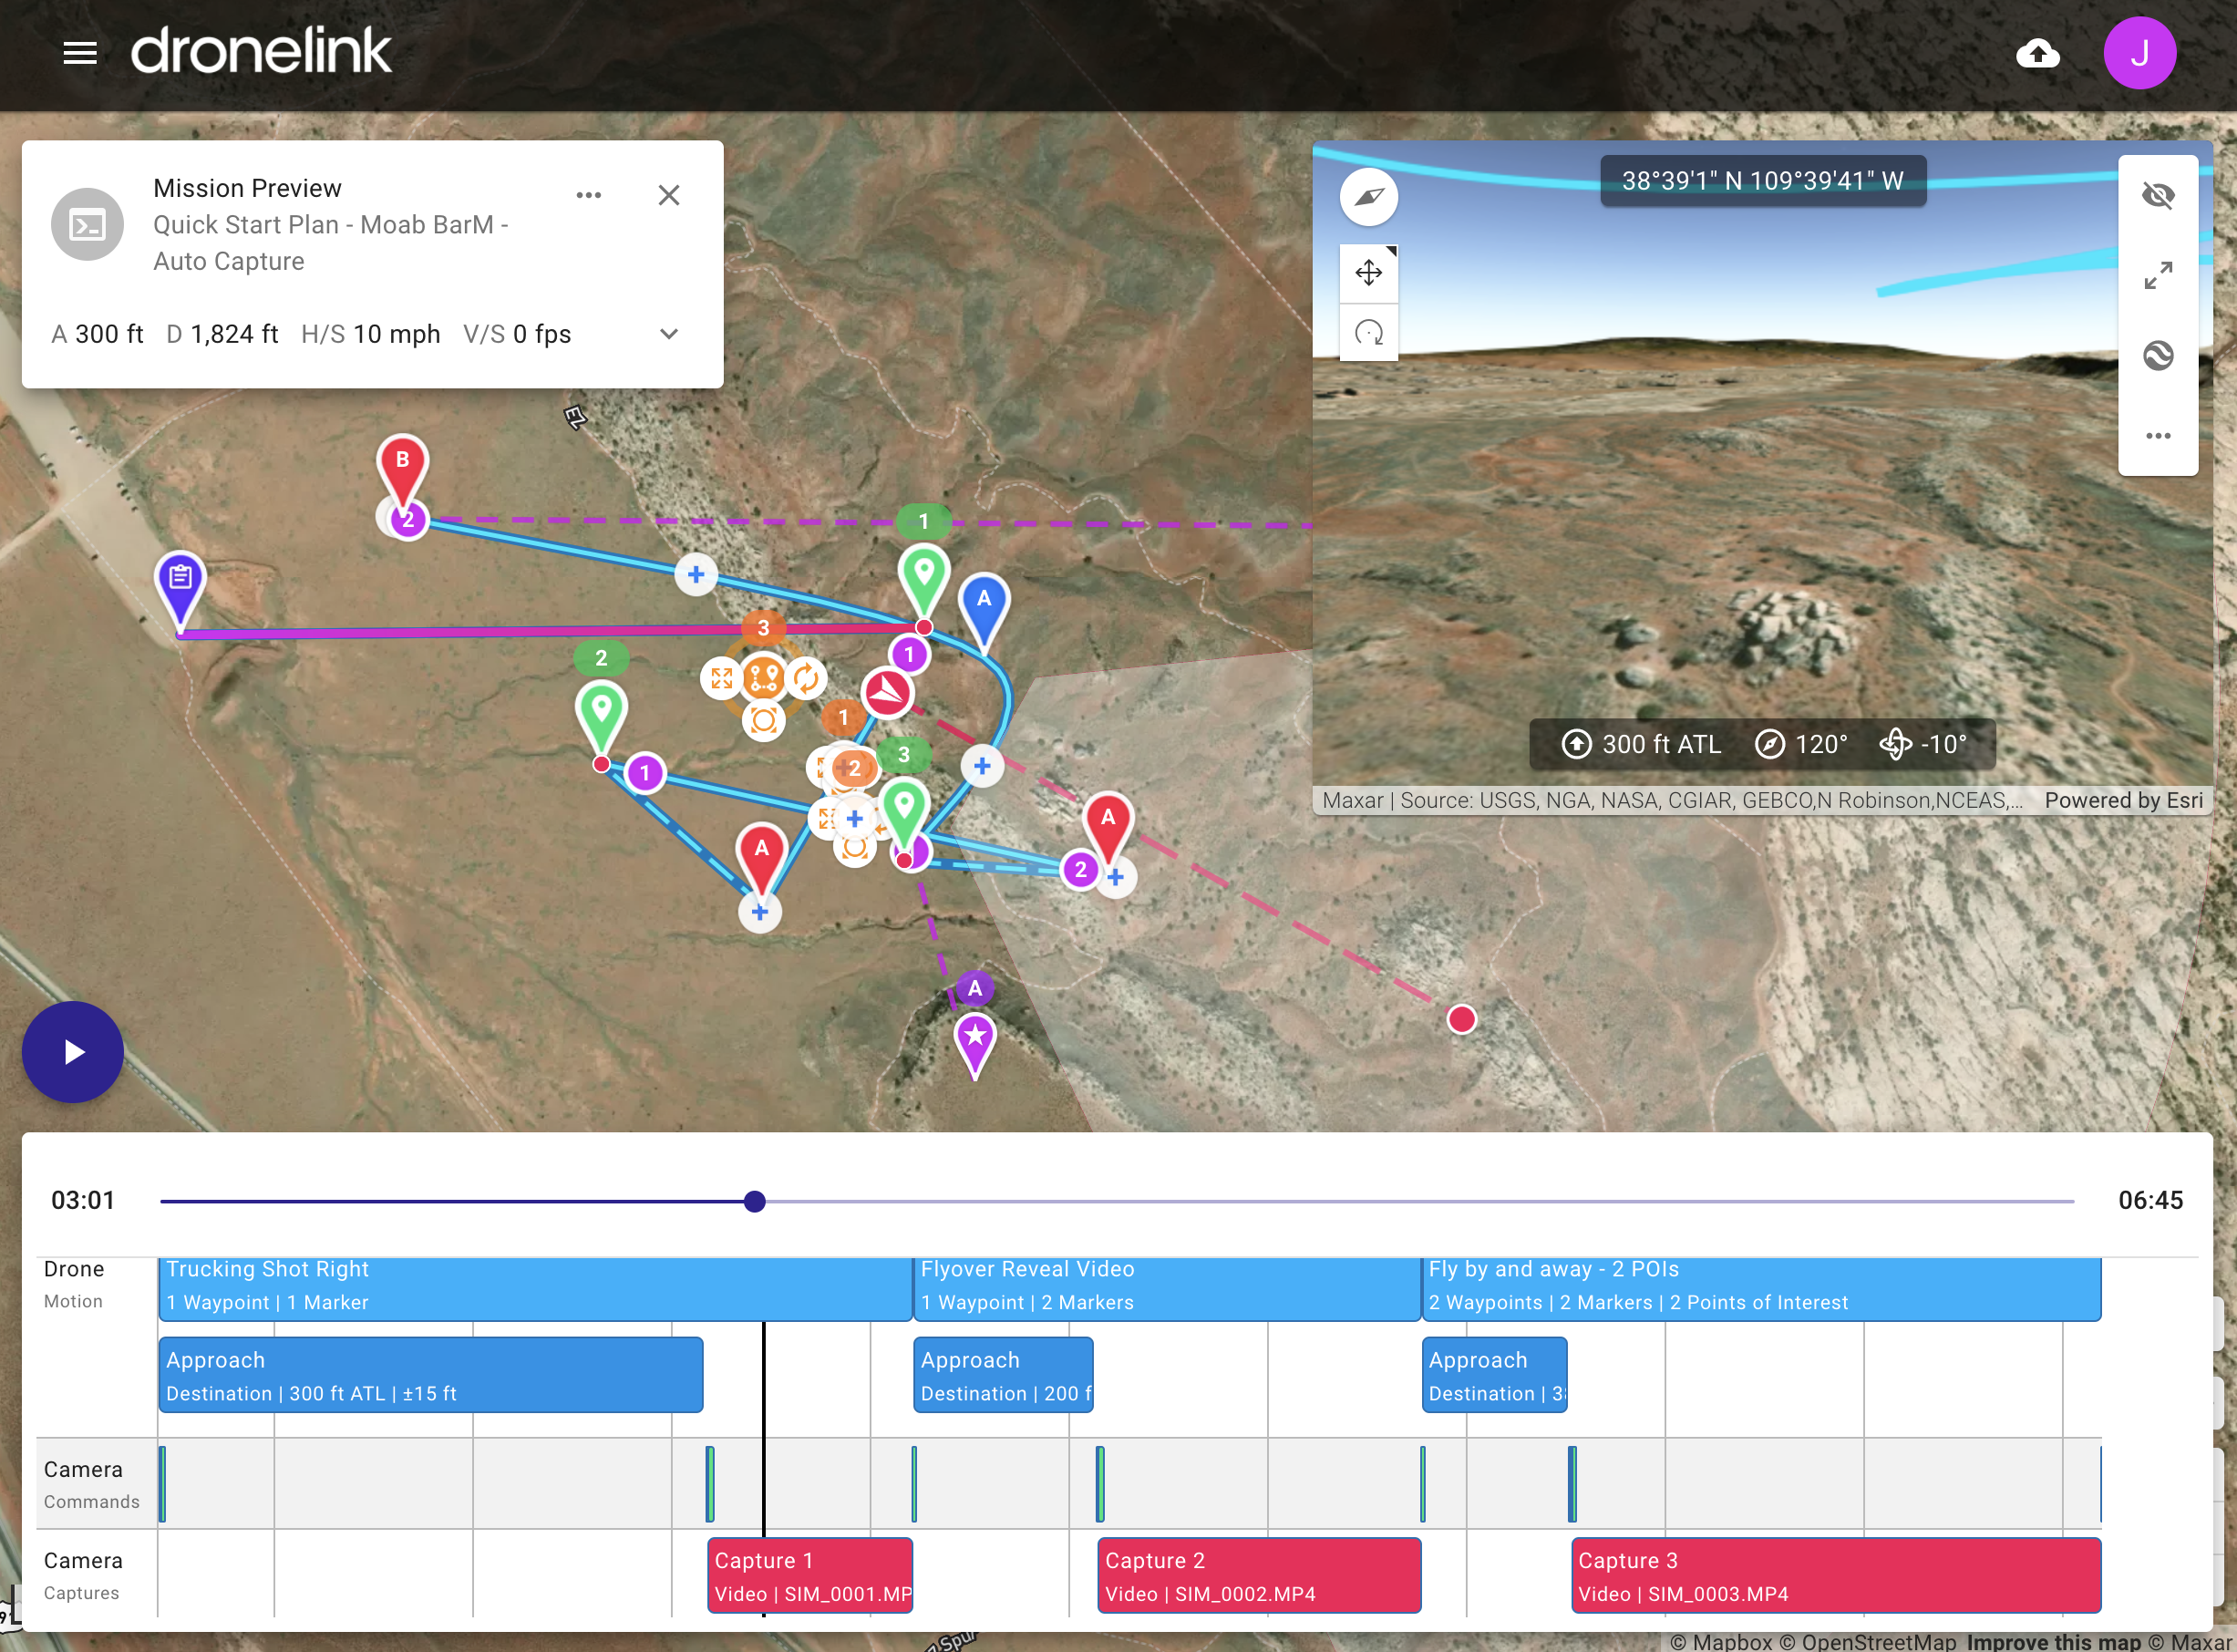
6 - Mission Estimate and Mission Preview
After making any changes, and before flying in the field, make sure to review the mission estimate and mission preview. Do this after any changes to understand the impacts of your changes, check for safety and make sure the framing of your shots is as desired.

Take a look at the resulting edited footage from this mission.
In the next section, we run through opening up the mobile app and running the mission.