Learn how to copy a public mission plan to a new location and start editing to make it your own.
Learn how discover new mission plans here.
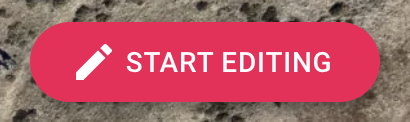
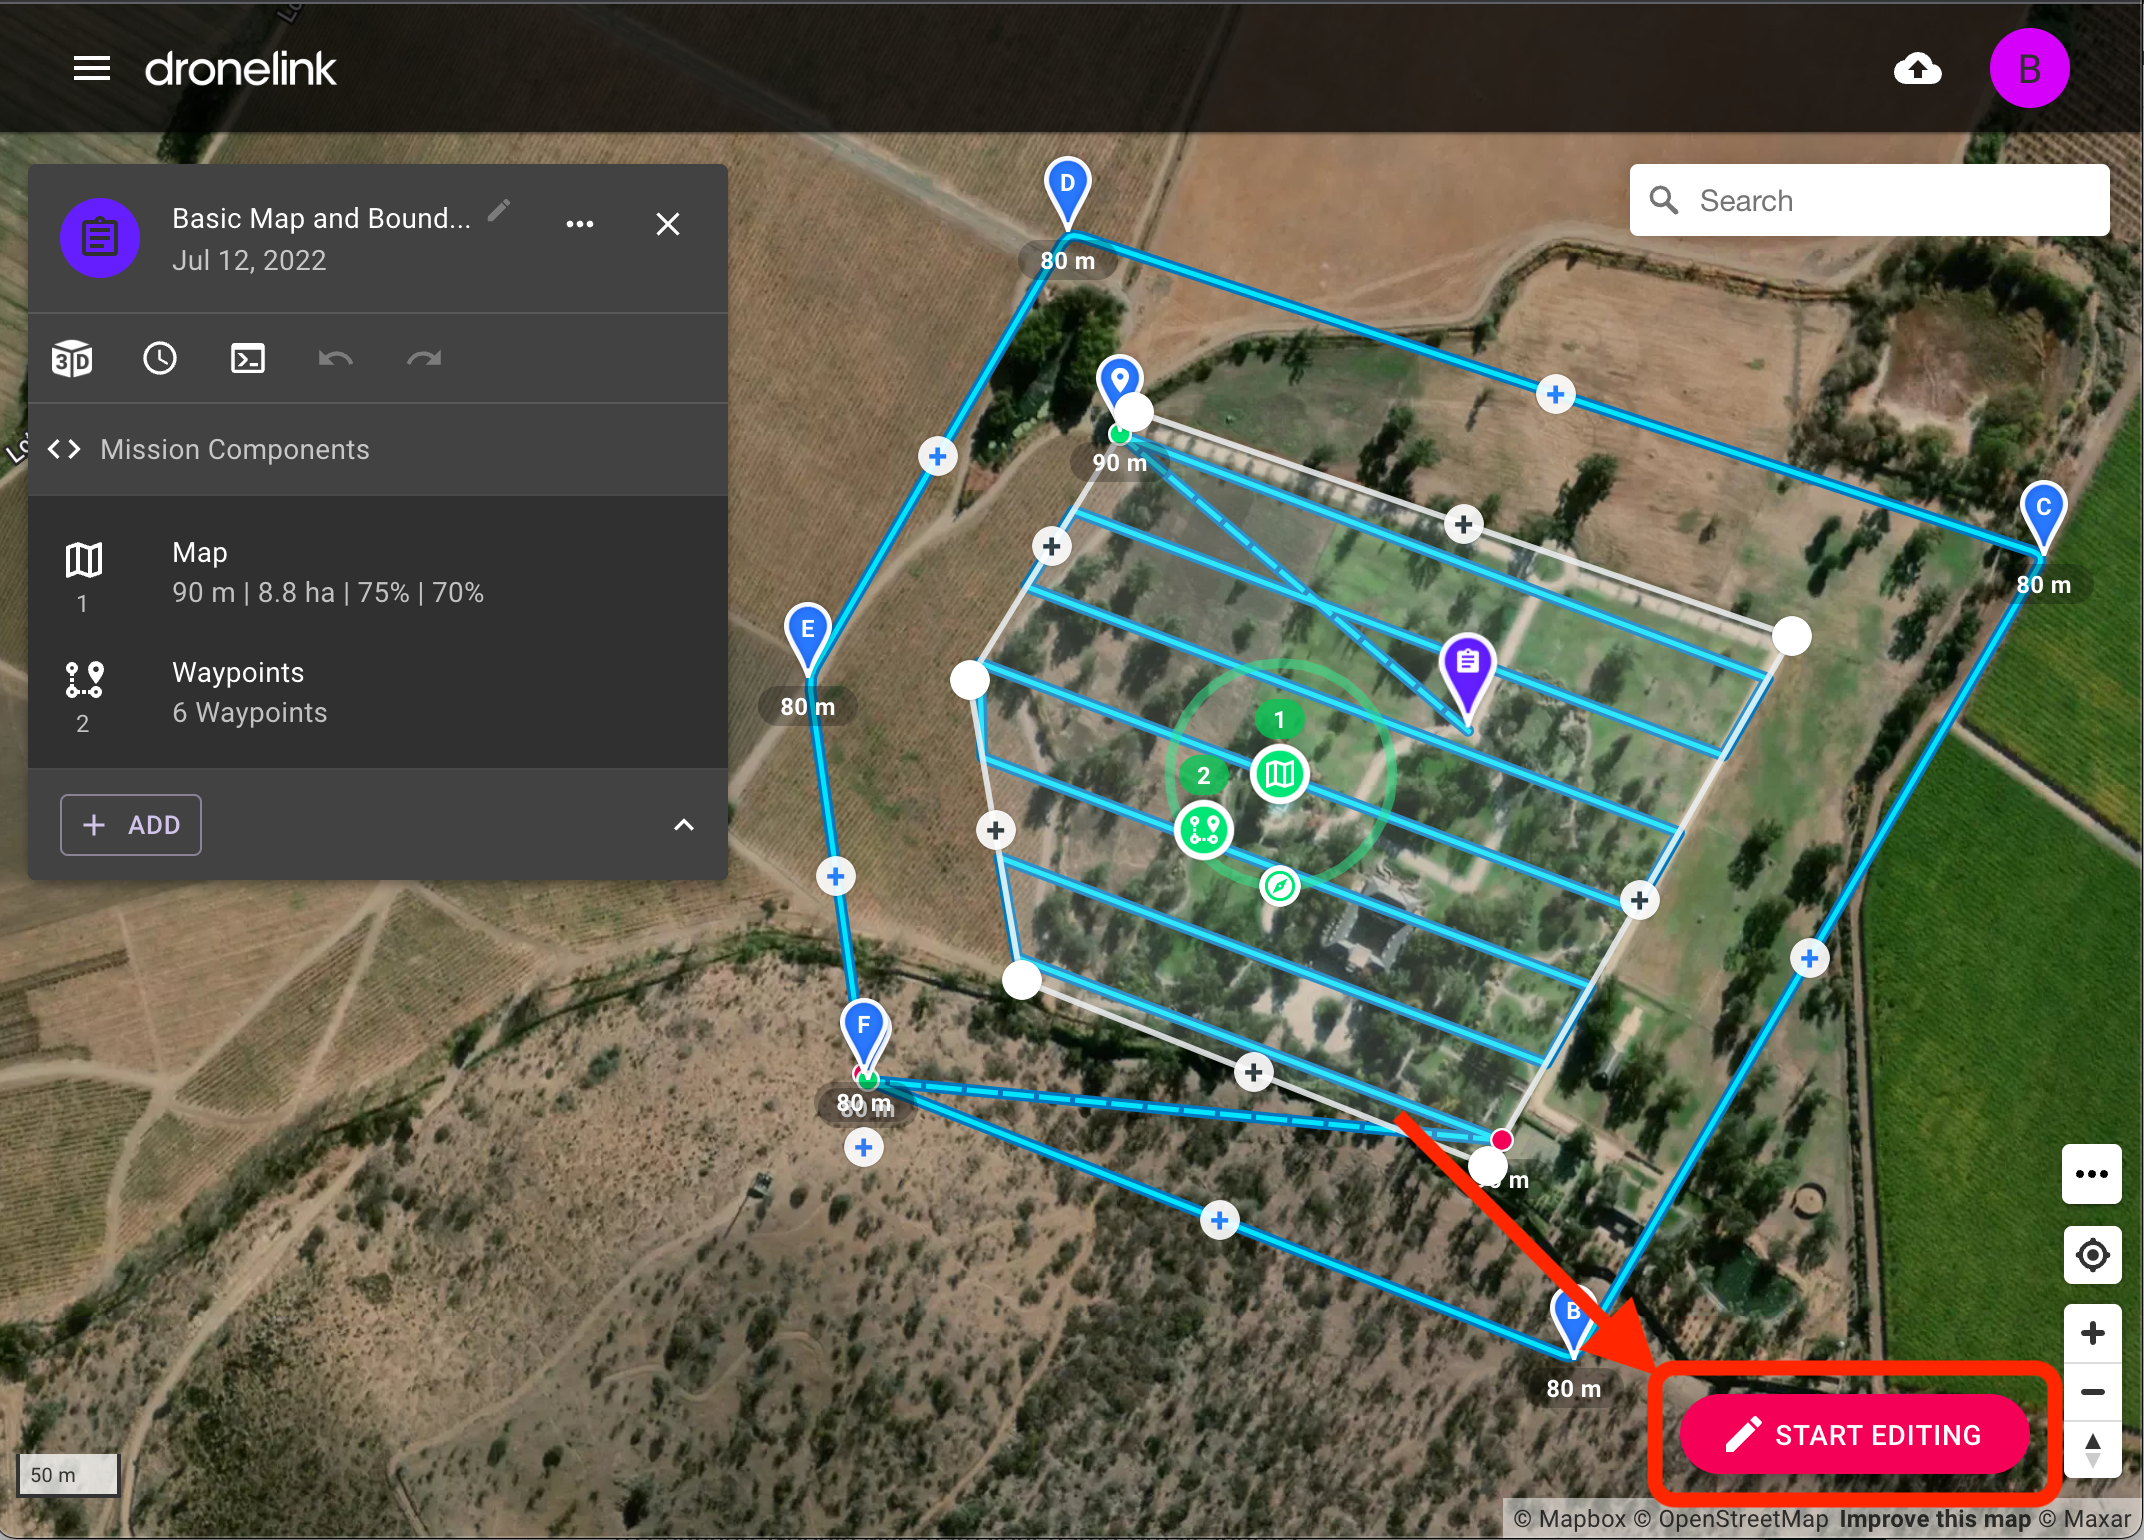
Step 1 - Select Start Editing from the Mission Plan
Open the mission plan you want to copy and Select Start Editing. Link to this mission plan.
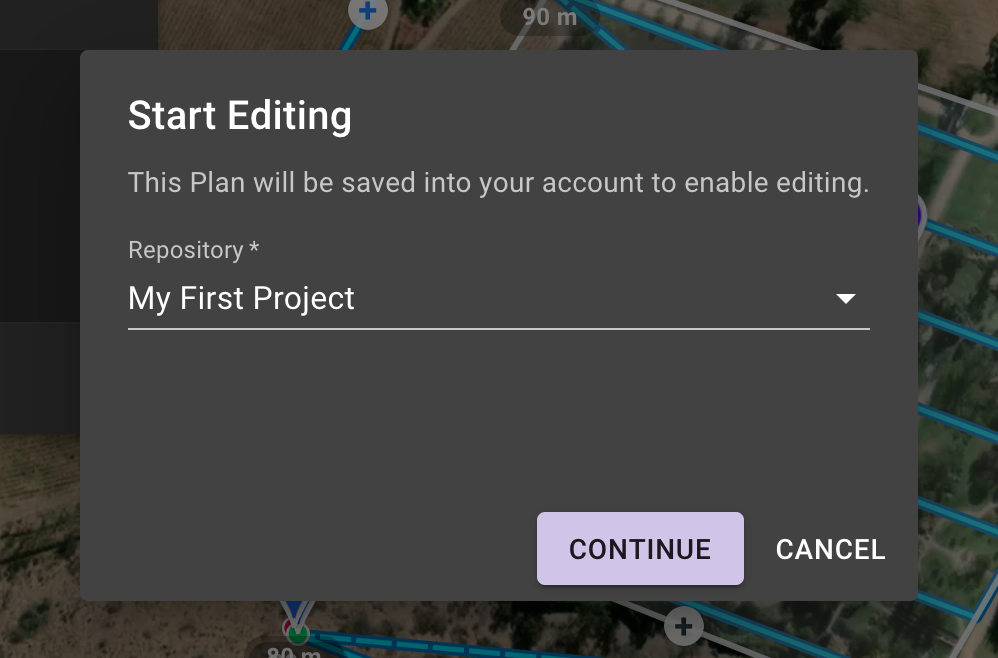
Step 2 - Select Continue
Select Continue to place the mission into the default "My First Project" repository. You can select a different repository to save the plan into. Learn about Repositories here.
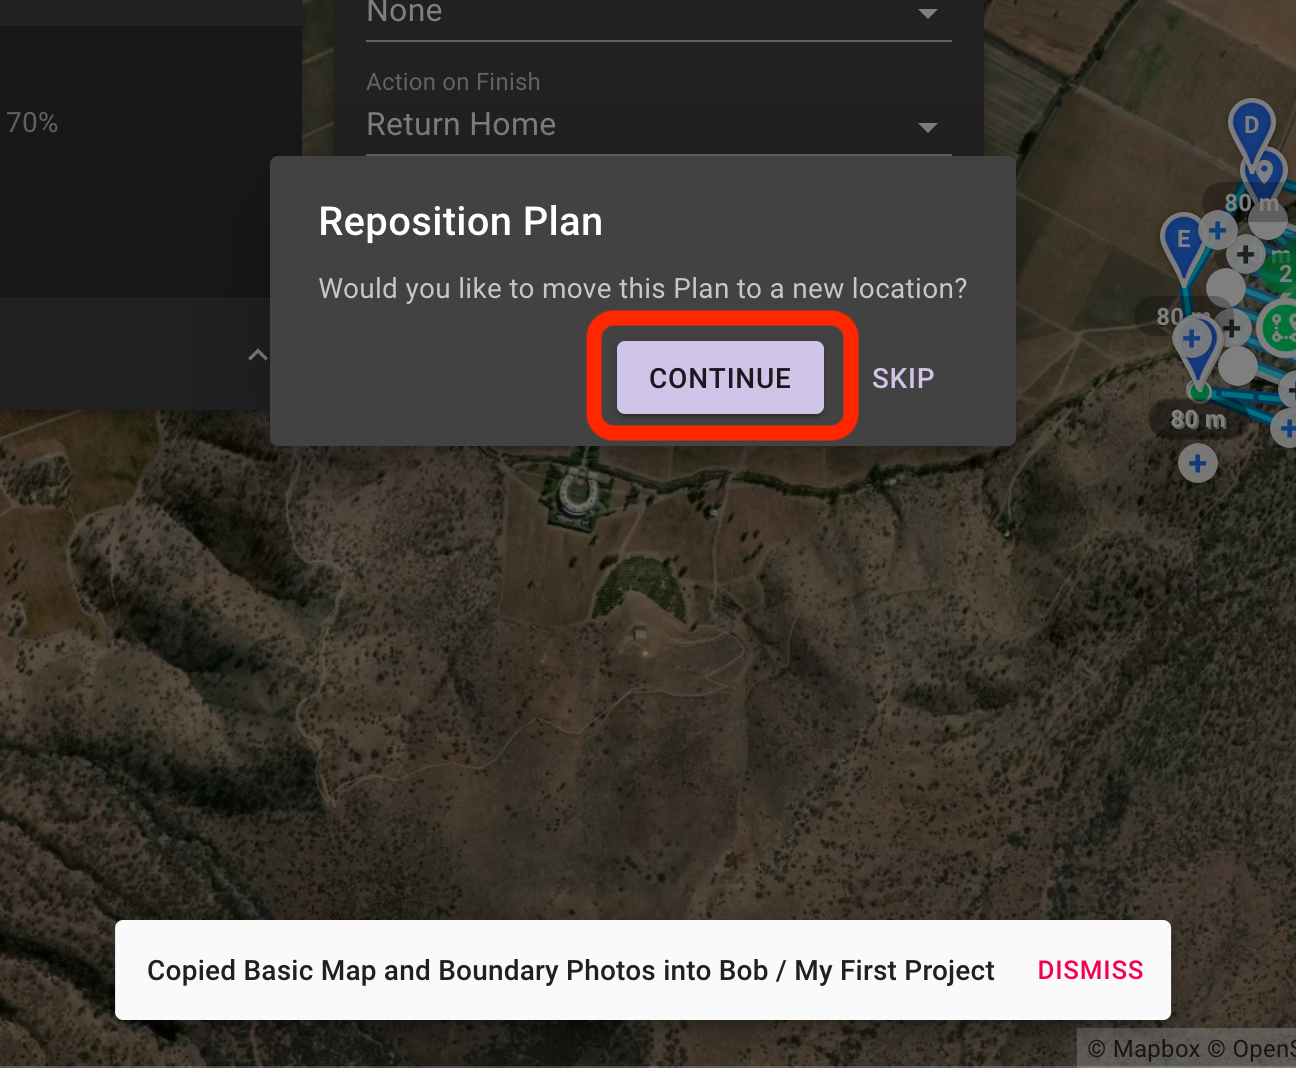
Step 3 - Select Continue to Move the Plan to the New Location
A message shows at the bottom, confirming the mission has been placed into your account name and the My First Project repository.
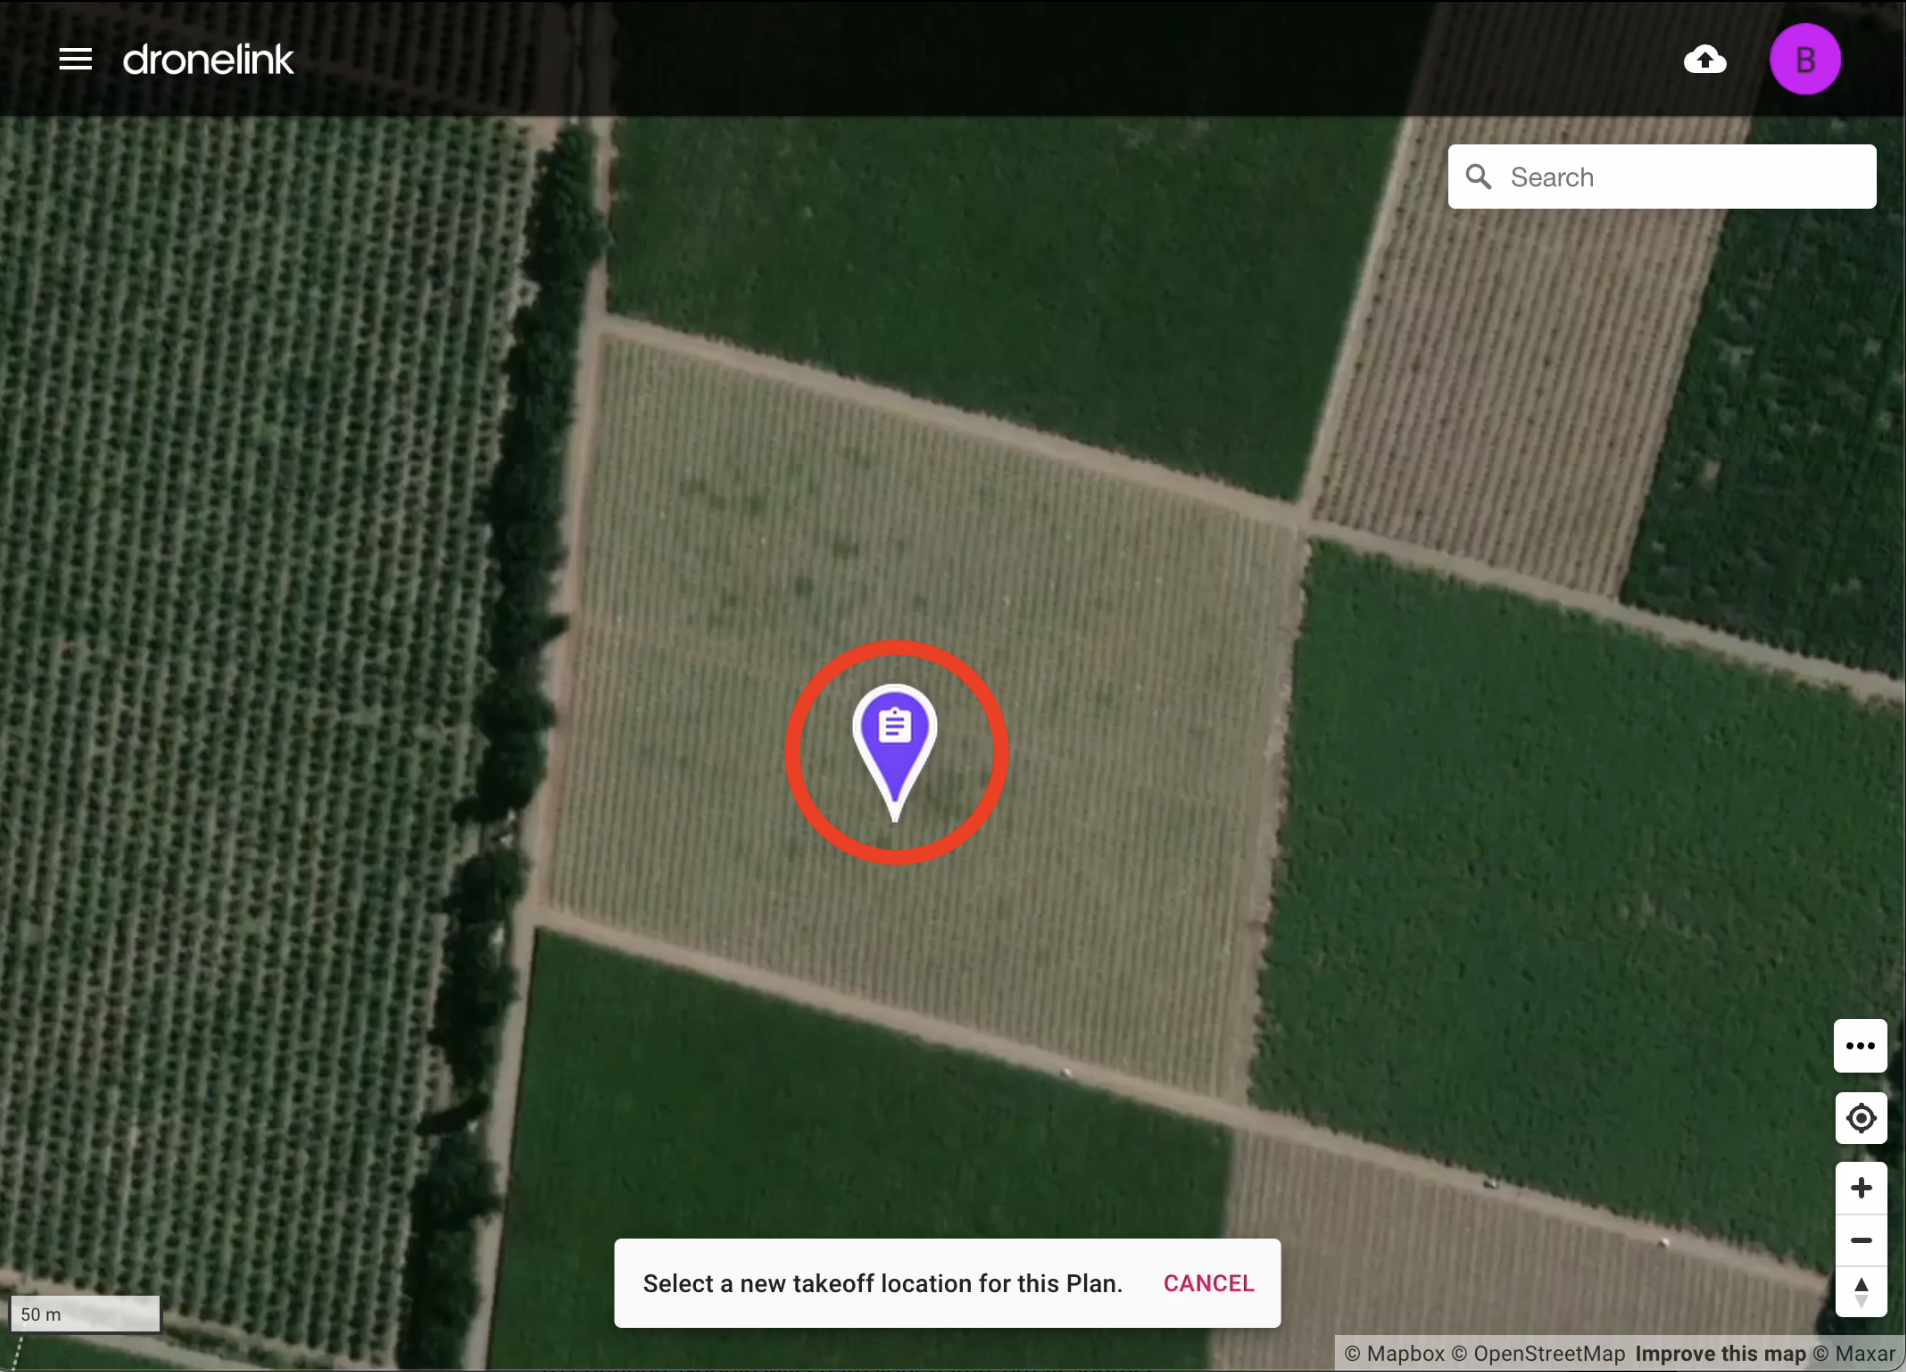
Step 4 - Navigate to New Location and Drop Pin
Navigate on the map to the new location. Or search for your desired location in the search bar on the top right.
Click on the map to place the mission at the new location.
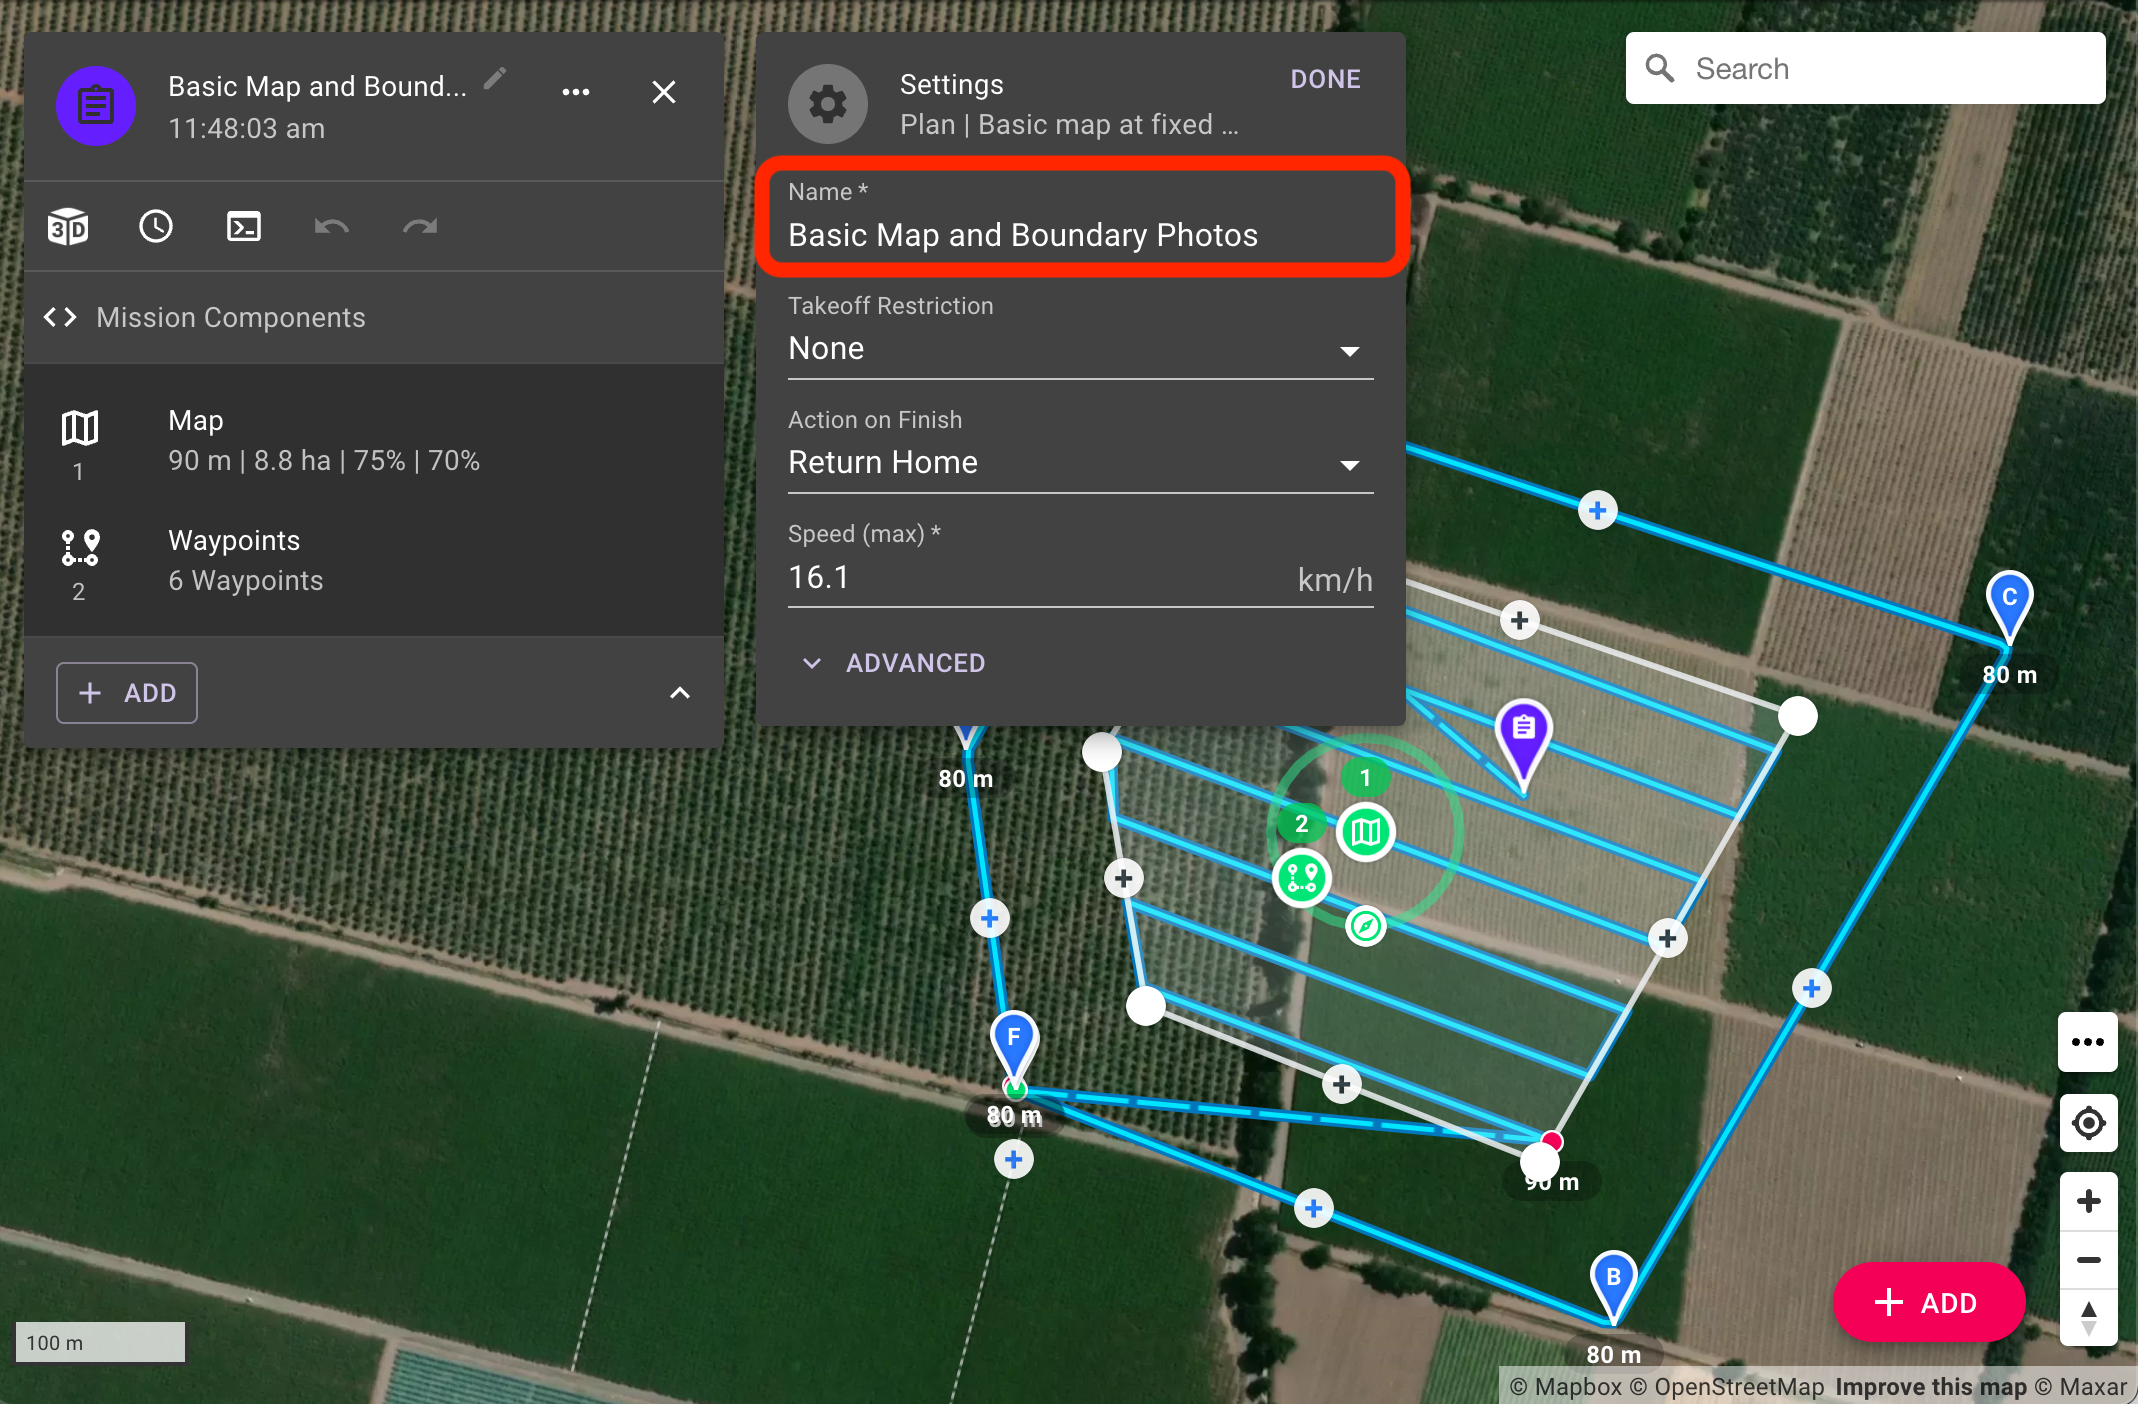
Once the mission plan is placed, you can give it a new name and start editing.
If you need to make an adjustment and move the mission plan again, right click on the map and select Move Reference. See this article to learn more.