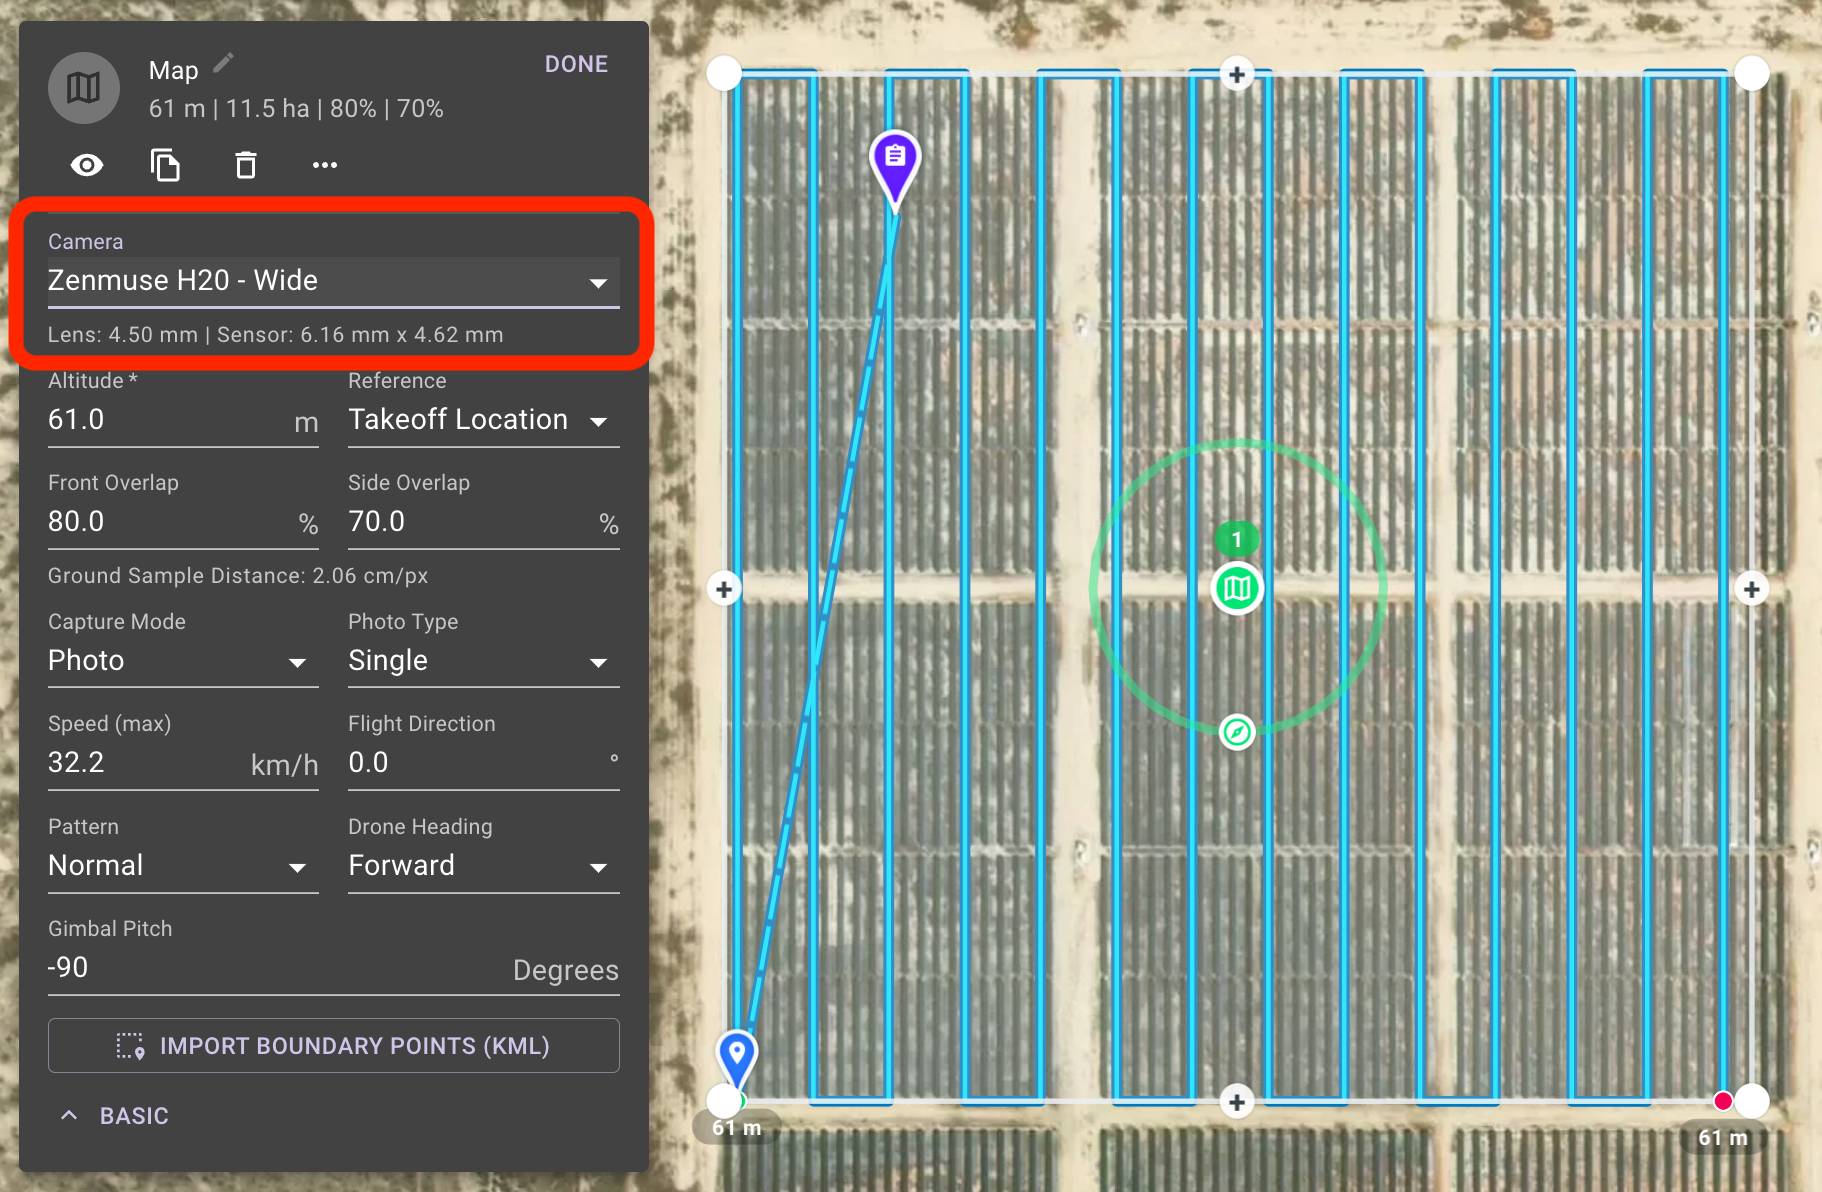
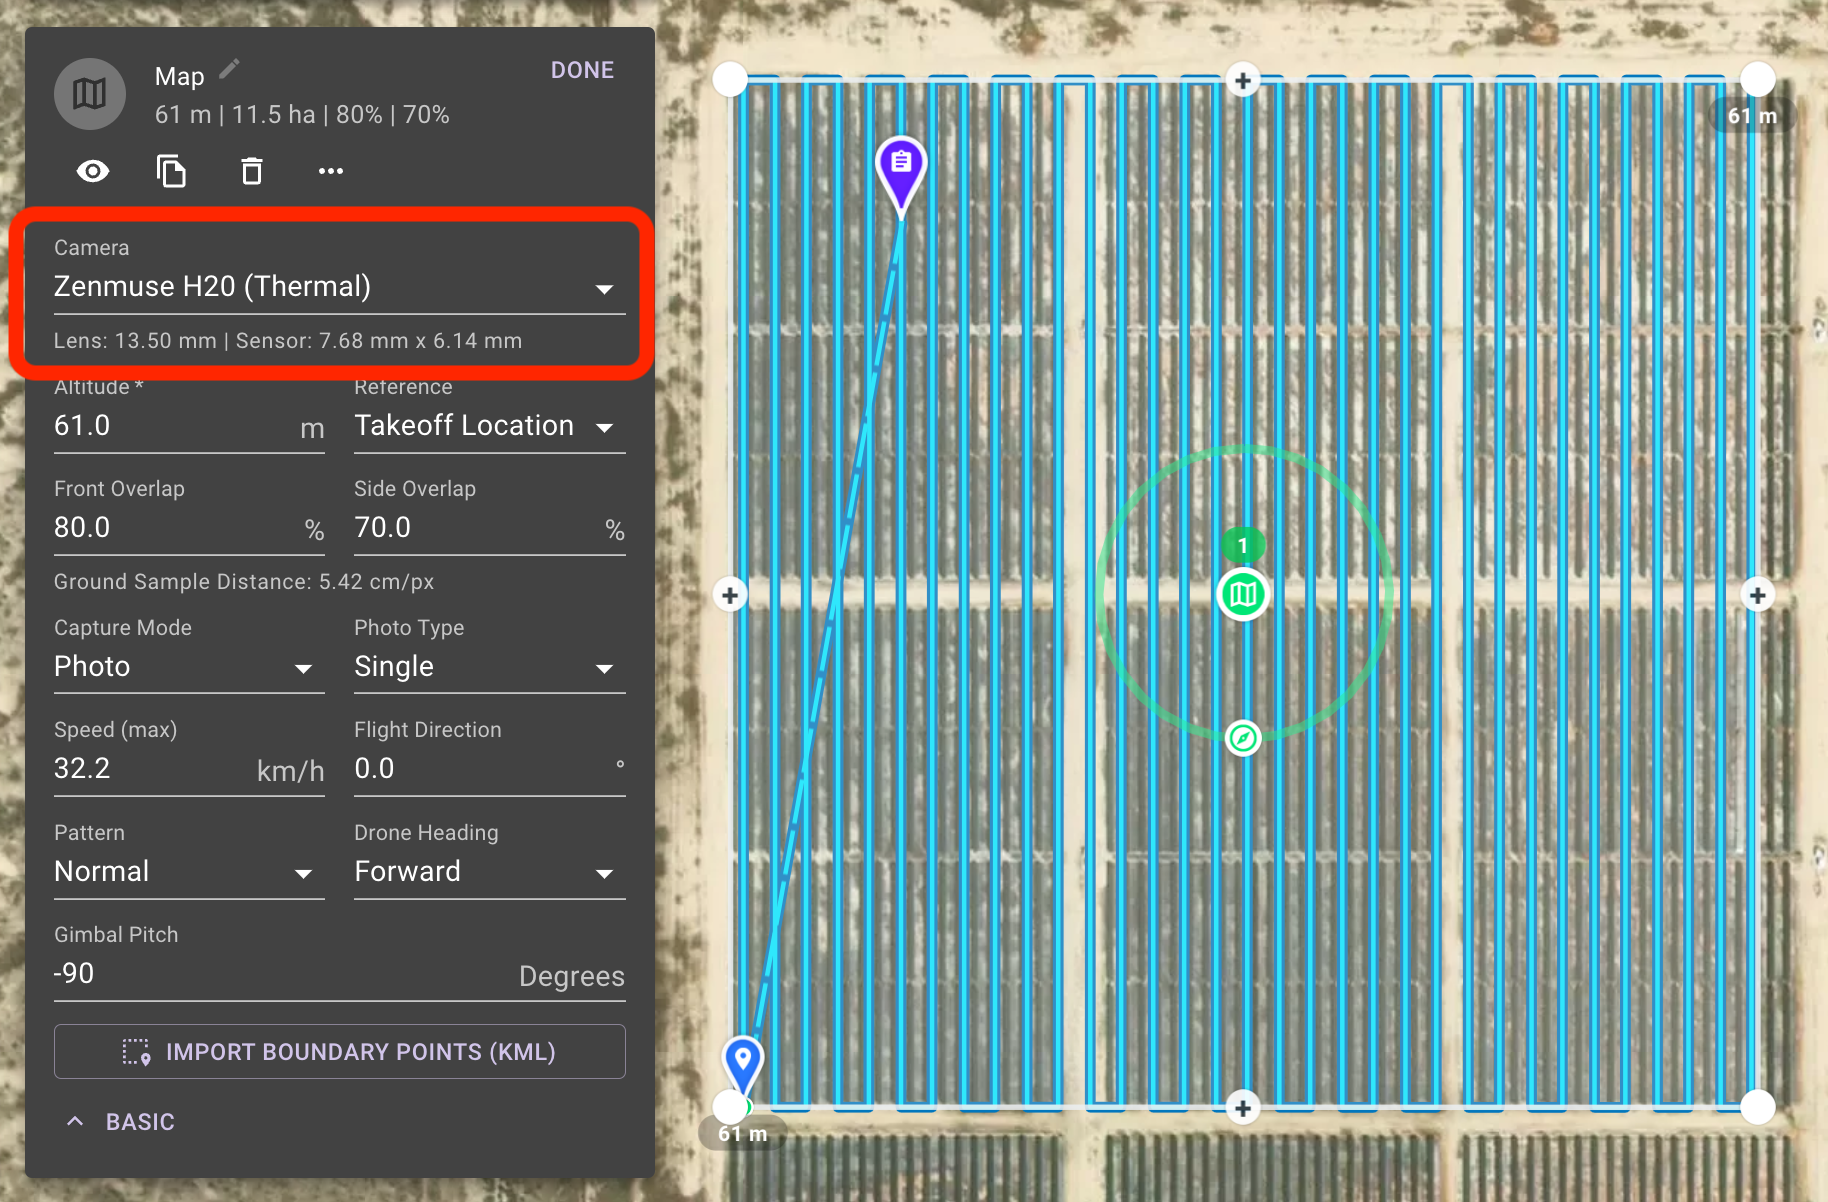
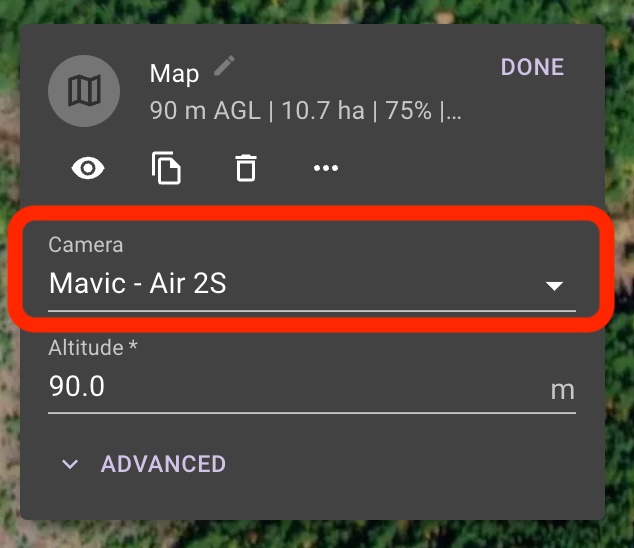
When mission planning using overlaps, it is important to set the Camera that will be used.
Each drone has a different field of view (FOV) based on the camera. This has implications when mission planning, specifically for mapping and facade missions that use overlap values to determine the flight path. It is also important to set when mission planning in 3D, using the Virtual Drone. Learn more about 3D Planning here.
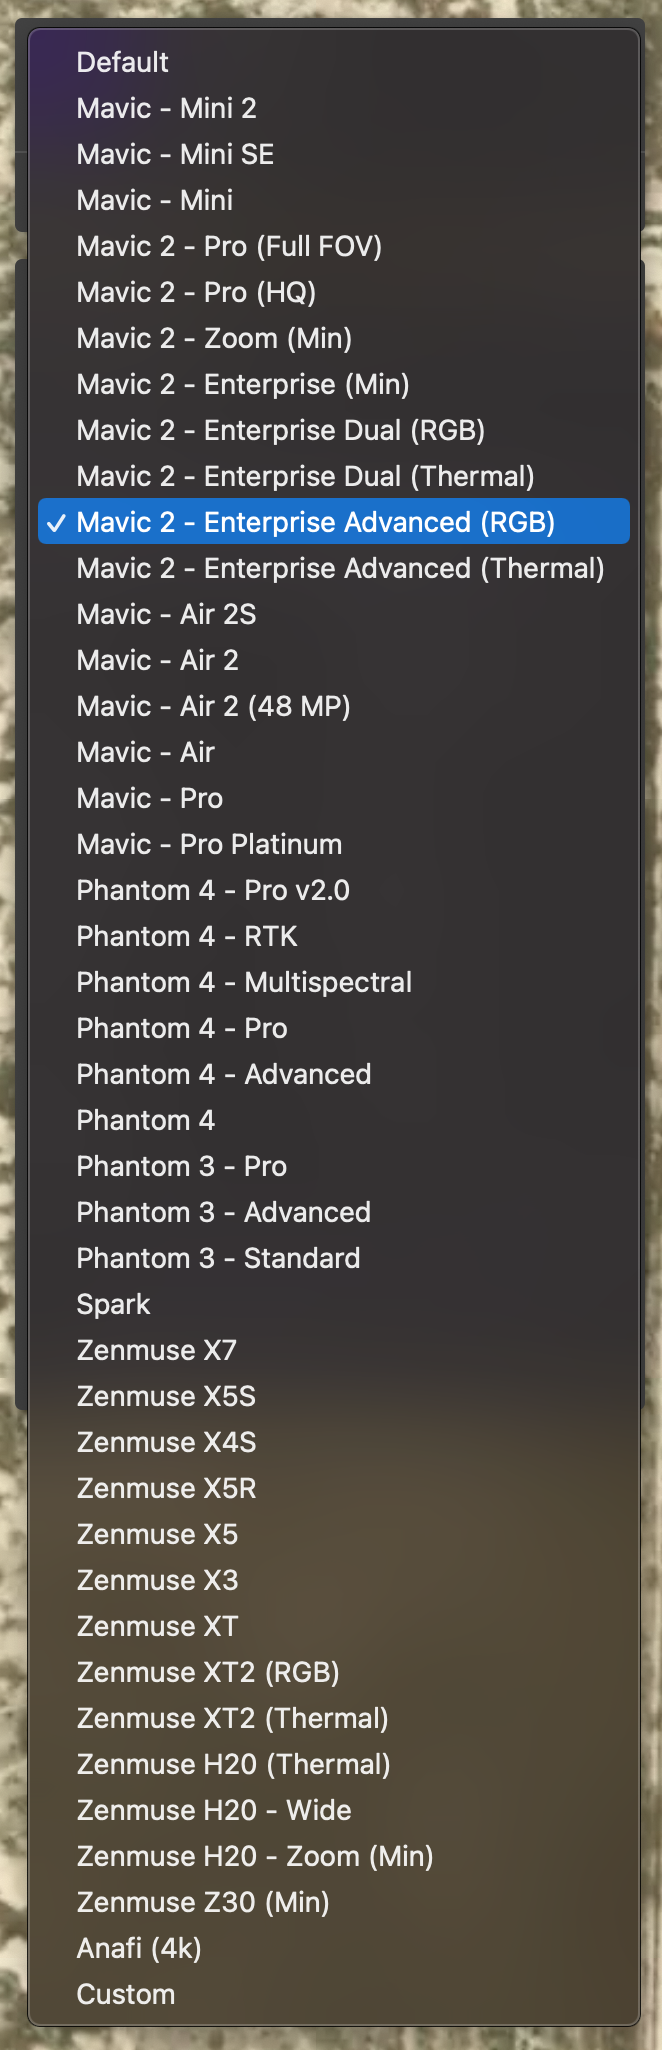
Dronelink does not automatically adjust the flight path based on the connected drone. A user must create mission plans specific to the drone they are targeting. Select the camera from the provided dropdown list of supported drones by Dronelink.
If you are doing thermal inspections, the FOV is smaller, and will require more closely spaced path. For drones with thermal and RGB payloads, make sure to select the correct camera spec from the dropdown.
Example of the same map mission with only a different Camera selected.